Can we talk about feet for a moment? As a gardener my feet take a beating. I love to be outdoors no matter what the season and I walk everywhere I can. I have a car, but it sits there all week in front of my house while I don my walking shoes (or flip flops) and head out for a jaunt around the neighbourhood. Nothing quite beats the feeling of kicking up your tired feet at the end of a day, except of course a little foot pampering. Just taking a few moments to sit and rub this healing foot balm on my feet, helps to melt away the stress of the day. Peppermint is both cooling and a pain reliever, so it’s made for hard-working feet. Whether you spend your day in high heels, work boots, or flip flops, your feet with thank you for this recipe!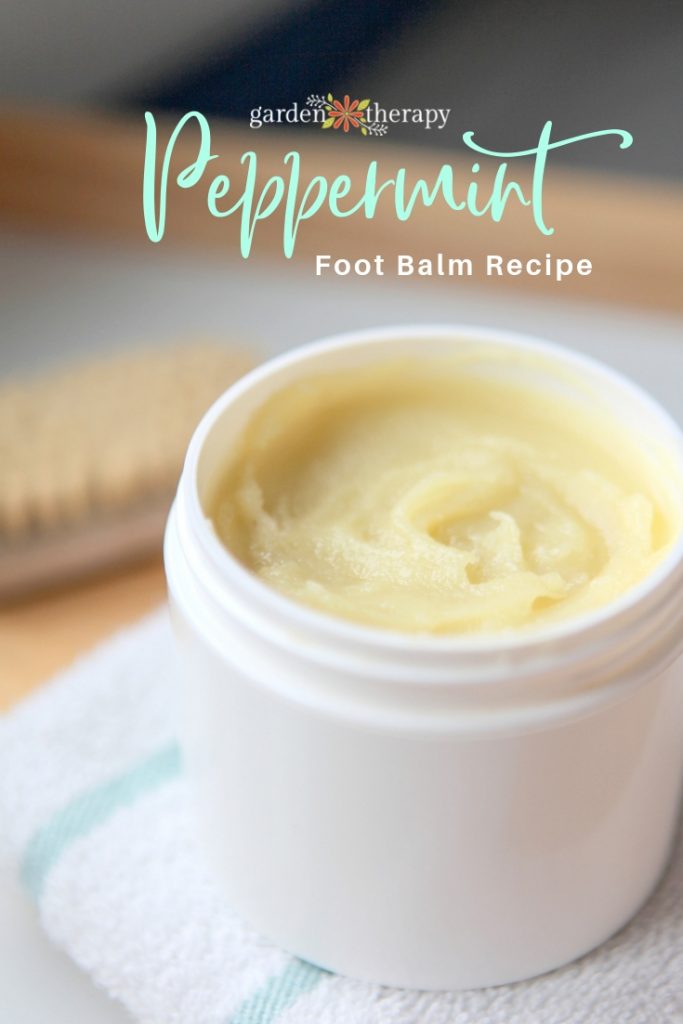
Healing Plant Ingredients for Soft Skin and Pain Relief
This peppermint foot balm is full of all-natural ingredients that heal, soften and soothe the skin on your feet that can often become dry, calloused, cracked, and rough. Taking a few moments to run your feet with this balm can take away the aches and muscle tightness as well. If you have really dry or calloused heels, this foot balm is made to go together harmoniously with this Peppermint Foot Scrub recipe. After a good soak in warm water, a cooling peppermint foot scrub, this balm seals in moisture and helps to repair cracks and dryness. A true peppermint pampering for hard-working feet.
Ingredients
Makes 1 cup
- 1/4 cup olive oil infused with calendula and chamomile (see how to make it here)
- 1/4 cup lavender-infused coconut oil
- 1/4 cup cocoa butter
- 25 g grated beeswax
- 25 drops peppermint essential oil
- 10 drops lemongrass essential oil
- 5 drops vanilla essential oil
- 5 drops tea tree essential oil
- 5 drops lavender essential oil
Make it!
Melt the oils, wax and cocoa butter together over medium-low heat in a double boiler or a Turkish coffee pot. If the beeswax you have is a solid chunk, grate it using a cheese grater to allow it to melt faster and keep the oils from warming too much. Add essential oils when the oils and wax are melted.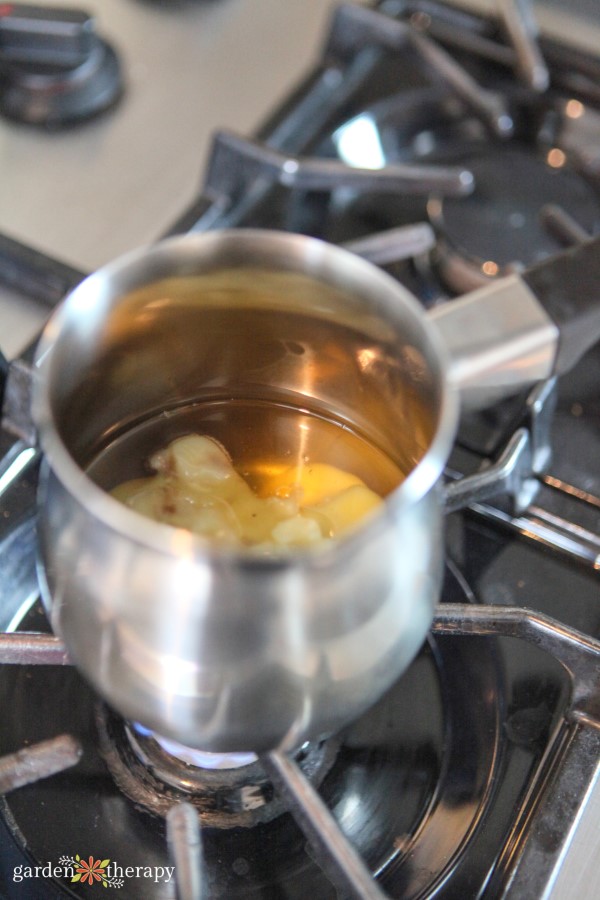
Pour into a heat-proof container,
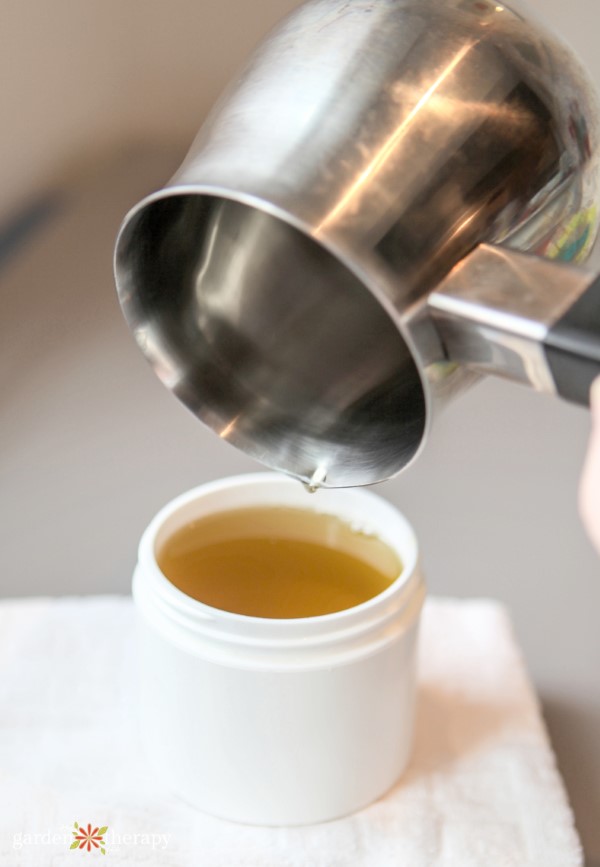
and leave undisturbed for 6-8 hours to cool.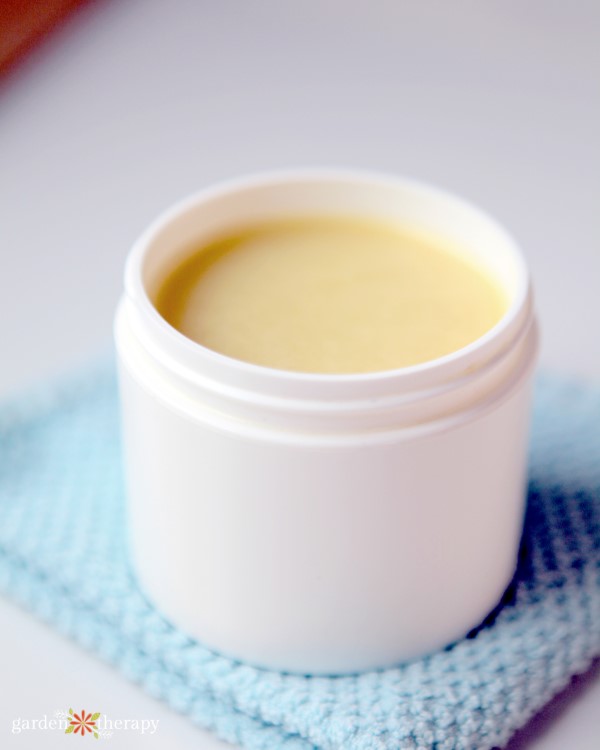 Apply after the shower or bath and at night before bed for 2 weeks and you are sure to feel a big difference!
4-Step Foot Care Therapy
While I find this balm is wonderful in the winter when my heels get really dry, I also like to use it to help with the pain of long days gardening in the summer. Here are 4 steps to pampering your feet to help repair skin and ease pain no matter what the season.
- Soak feet in a warm foot bath filled with this Herbal Foot Soak.
- Scrub feet, ankles, and calves with this Pampering Peppermint Foot Scrub.
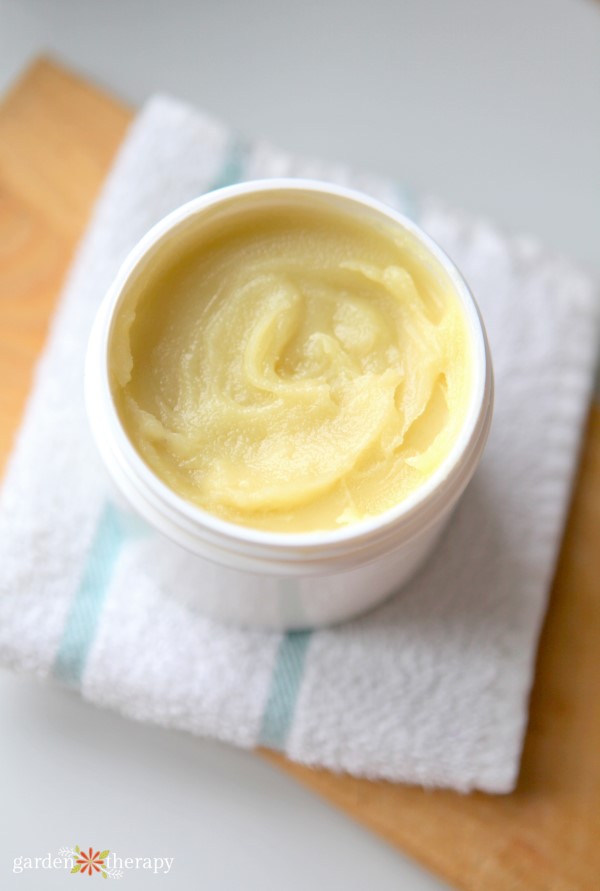
- Dry feet, massage in healing foot balm .
- Slip on a pair of socks and go to bed. The next morning the aches are long gone and the bottom your feet feel like a baby’s bottom.
More Plant-Based Beauty Recipes You Will Love
- Coffee Bean Massage Bars
- A Sweet Homemade Honeycomb Soap Recipe
- Pampering Peppermint Coconut Foot Scrub
- Honey Dandelion Lip Scrub
- Botanical Perfume Recipe: Blend Your Own Custom Scent
- Herbal Foot Soak Recipe
- Lavender and Cocoa Butter Bath Melts
A city girl who learned to garden and it changed everything. Author, artist, Master Gardener. Better living through plants.


Hi Stefanie,
I don’t know if you are familiar with “Vitabath’s” Spring Green scent. I was wondering if you would know what combination of essential oils I could use to duplicate the scent, at least close to it. I would like to make the foot balm with that scent.
Hi Becky, I’m sorry, I’m not familiar with that one.
Here is the scent, forest pine, patchouli and rosewood.
Hi Stephanie
I made your peppermint foot balm which is really lovely. Can you tell me how long it should last please?
Some I made a few weeks ago now have pale coloured dots on the surface, which get bigger and cover the whole surface.
I would appreciate your advice please.
With thanks
Sam Carter
Hi Sam, I’m so glad that you are enjoying the balm! Products that are made without water should last as long as the expiry date on the ingredients. So check the ingredients you used to see what date yours will be good until. The spots happen to mine when it starts to get old, but usually this can take a year or more and it is well past the expiry date. How does the balm smell?
Thank you Stephanie for your reply. The ingredients don’t have an expiry date on them – I enquired about the date for the cocoa butter but as it isn’t food grade there isn’t a date.
I did use half your ammount of bees wax, would that have an effect?
Also would changes in temperature cause the spots?
The smell of the balm isn’t quite the same once the spots appear.
Hi Sam, it’s hard to know what caused the issue, but all products should have expiry dates. I would think that with a change in appearance and scent that something has spoiled. It could be that bacteria or fungus is growing and that is why it has changed. This could also be caused if any water gets in to the balm. Perhaps through using it in the bath or shower?
I would toss it out and make it again following the recipe with fresh ingredients. I have only made this recipe with the ingredients as listed, but less beeswax would make it less firm but not cause it to spoil.
I’ll do that Stephanie, thank you for taking the time to reply.
Regards
Sam
Ps. I’ve belatedly realised it was in the sun for a while, so not ideal!
Hi there.
Based on the research I have done, those specks of white are hardened oils/wax. Usually caused by not letting the beeswax and oil get to a hot enough temperature before allowing to cool. It does not change the effectiveness of the product and can still be used.
Hope you found this helpful.
-Katie
Hello there Ive been following you and I just really enjoy and learnt so much from you. But I have a silly question. For some reason I dont understand to make infusion for creams etc. Is it like making tea and seeping it?
I know right.
Hi Chantal, this will help: https://gardentherapy.ca/herbal-oils-for-natural-beauty/
Hi Stephanie,
I have bought several of your books and have also tried many of your recipes. Today I made the bath bombs from your book, Soaps, Sanitizers, and Cleaners. They will not stay in the mold and are expanding into one GIANT mass. WHAT did I do wrong????
Thank you.
Lisa C