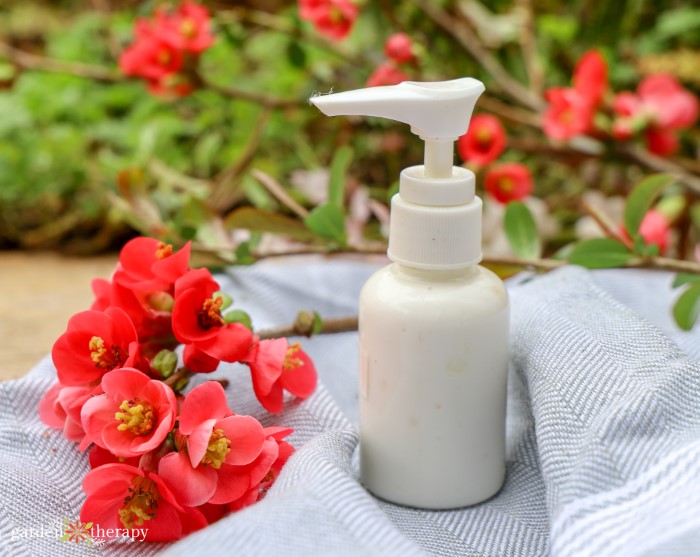
Taking a deep whiff of flowers from my garden gives me an instant rush of joy. So much so, that I found a way to carry it with me wherever I go. Filled with flowering quince, rose, calendula, and peony, I took the best flowers my garden had to offer and made a gentle, floral lotion. Perfect for head to toe, this lotion locks in moisture and leaves behind a divine floral scent.
When it comes to lotion, I get quite picky with consistency. I don’t want anything feeling too greasy on the skin and I also don’t want it to feel so watery that it barely moisturizes the skin. Instead, I want to feel fluffy, rich, and ultra-smooth to the touch.
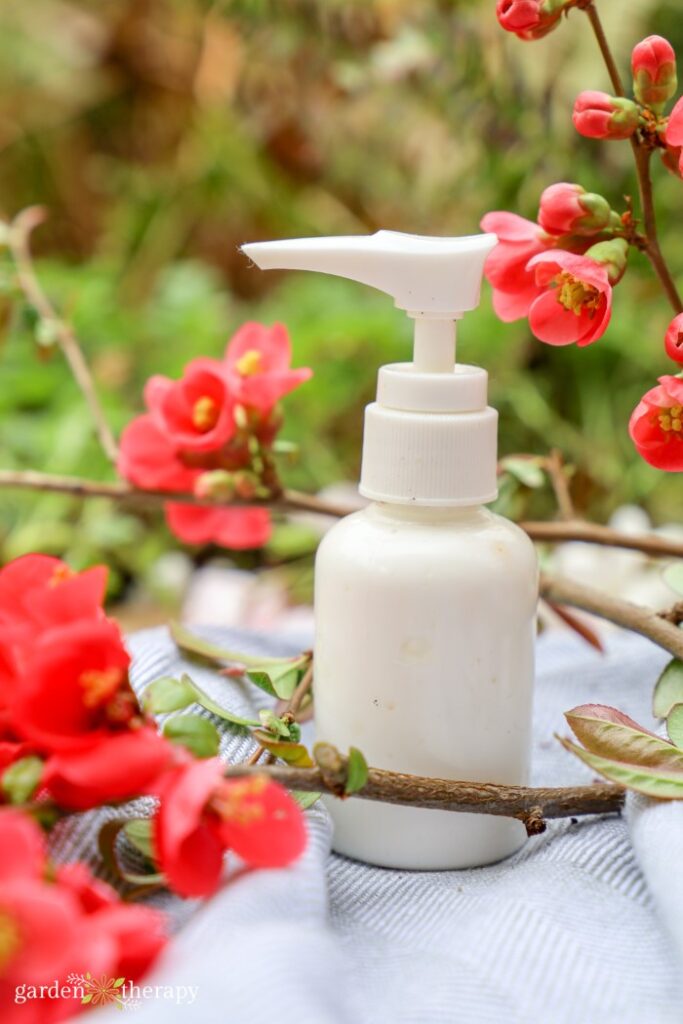
This DIY flower lotion is everything I want in a cream. Not only is the texture perfect, but it has such a gentle aroma that comes from flowers directly from my garden. Unlike lotions with essential oils, the scent is not overpowering.
And don’t even get me started on synthetic fragrances! Nothing smells like a flower except for a flower. You don’t need to be a chemist to smell like your flowers.
While making floral lotion does take some practice and patience to perfect, anyone at home can make some high-quality, fluffy, garden-inspired lotion.
This post will cover…
- What Flowers Work the Best in Lotion?
- How to Infuse Flowers in Oil
- DIY Flower Lotion Recipe
- Equipment
- Oil Phase Ingredients
- Aqueous Phase Ingredients
- Cool Phase Ingredients
- Make It!
- Floral Lotion FAQ
- More DIY Lotion Recipes
What Flowers Work the Best in Lotion?
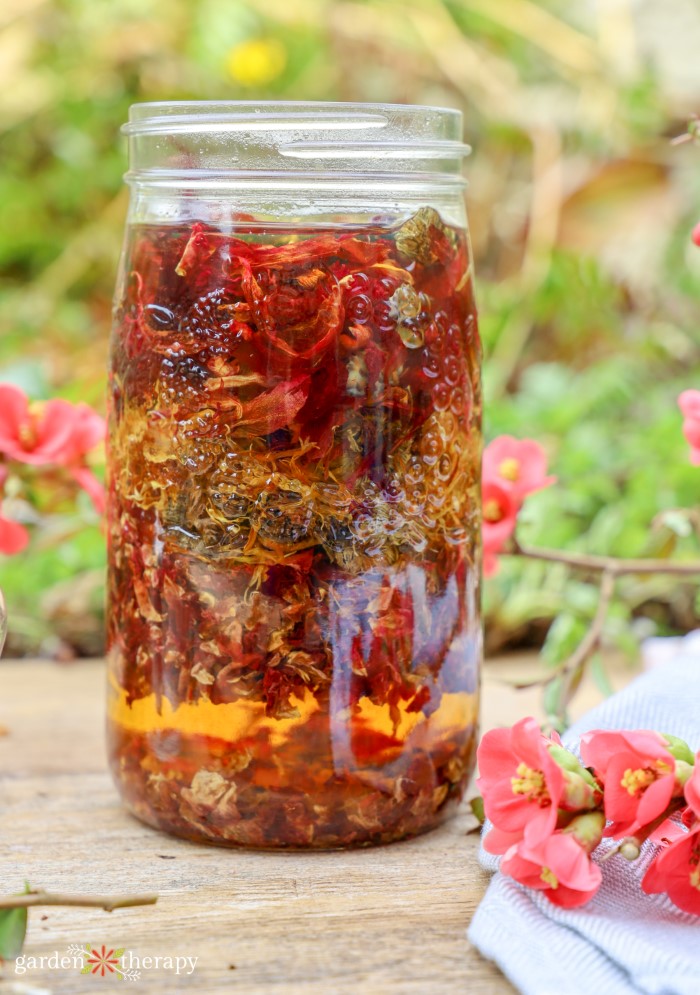
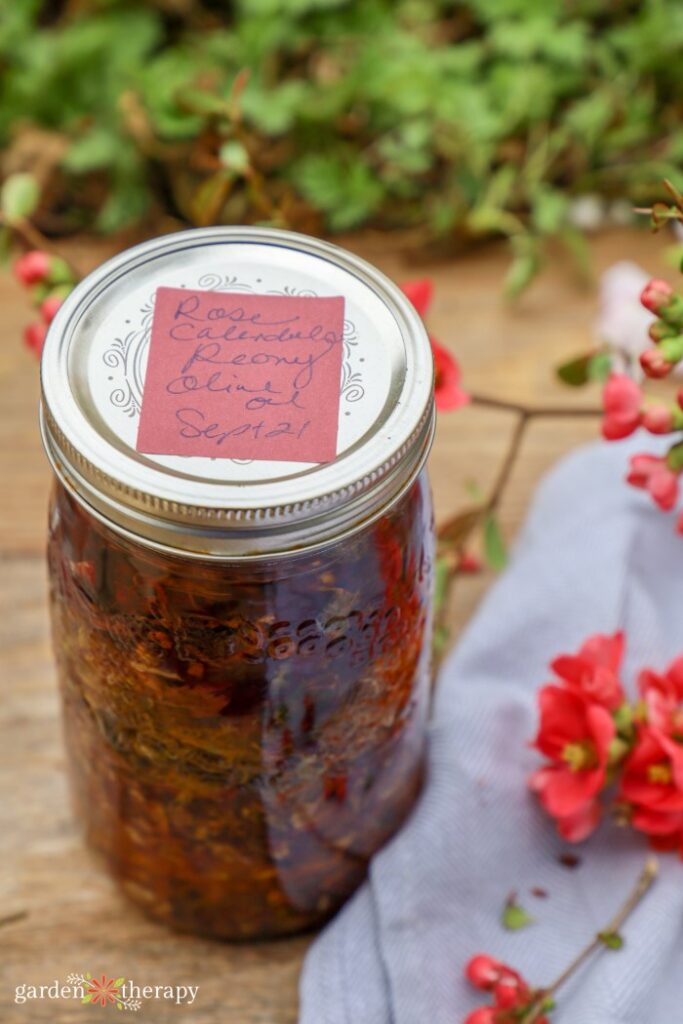
For this recipe, I made herbal oil using flowering quince, rose, calendula, and peony. The result is a delightfully floral fragrance that doesn’t overwhelm the senses. I chose these flowers mostly for their scent, but also for some of their wonderful skincare qualities.
Both rose and calendula have long been hailed as skin care wonders and grown for their medicinal properties. Calendula acts as a wound healer, helping to reduce inflammation. Rose cleanses the skin as a natural astringent and prevents and reduces skin discolouration.
When it comes to making your own floral lotion, you can customize your herbal oil using whatever flowers you like best or what’s in season. Lavender and chamomile are other skin care-friendly, heavily scented flowers.
If the scent is the main goal, hyacinth, lily of the valley, gardenia, and lilac all come with a heavy perfume. Check out my list of fragrant flowers and skin care herbs for more ideas.
Note: please use caution when working with lily of the valley. It smells wonderful, but when ingested, it is extremely toxic to living beings, especially children and pets. Keep out of reach of little hands and paws!
How to Infuse Flowers in Oil
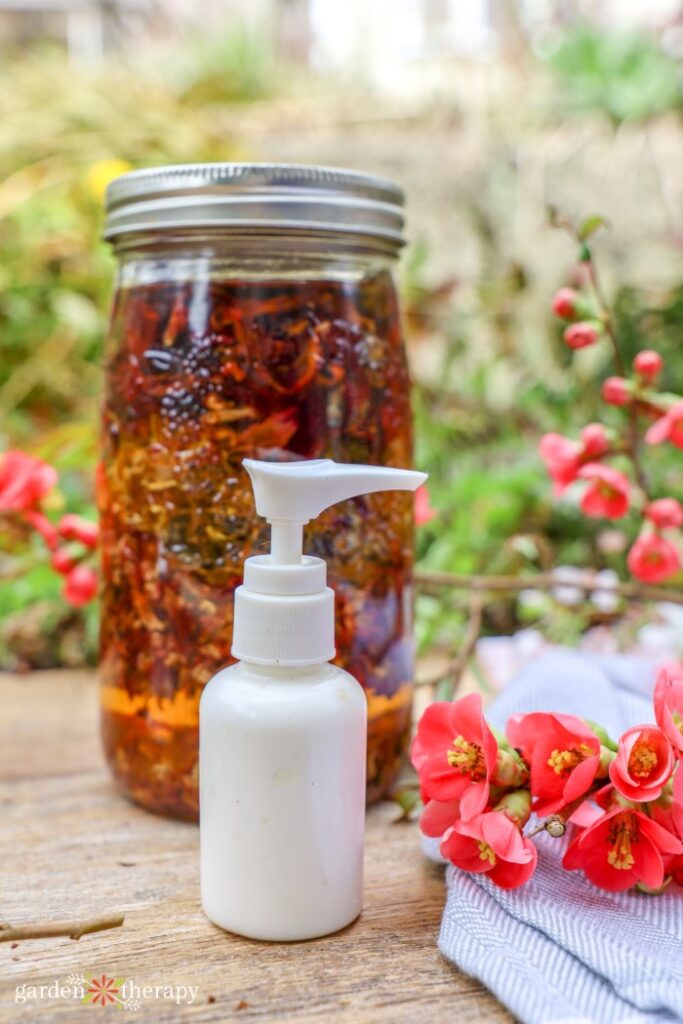
When making infusing flowers in oil, you’ll need a little bit of heat. This can be done using the stovetop, a slow cooker, or by sitting out in the sun. For all three, the premise is simple: submerge the flowers in oil and let them sit.
Depending on how much time you have, you can use one of the three methods before you make your flower cream. You can find detailed instructions for each infusion method here.
Keep in mind that only dried flowers should be used to infuse the oils. The moisture from fresh flowers won’t mix well.
Luckily, drying flowers is much easier than you may think! Here’s how to dry flowers, plus 14 other things you can do with them.
DIY Flower Lotion Recipe
Bottle up the heavenly scents of your garden with this ultra-moisturizing floral lotion. If this is your first time making lotion, check out this post first for more detailed how-to instructions. Lotion is one of the trickier recipes to make, and it may take a couple of tries before you get it perfect!
Makes 200g. For exact measurements, refer to the recipe card at the bottom of the post.
Jump to RecipeEquipment
- Beakers or other heatproof containers
- Kitchen scale
- Thermometer
- Double boiler
- Spatula
- Electric mixer
- Mixing bowl
- Alcohol (to sterilize equipment and tools)
Oil Phase Ingredients
Aqueous Phase Ingredients
- Distilled water
- Aloe vera gel
- Glycerine
Cool Phase Ingredients
Make It!
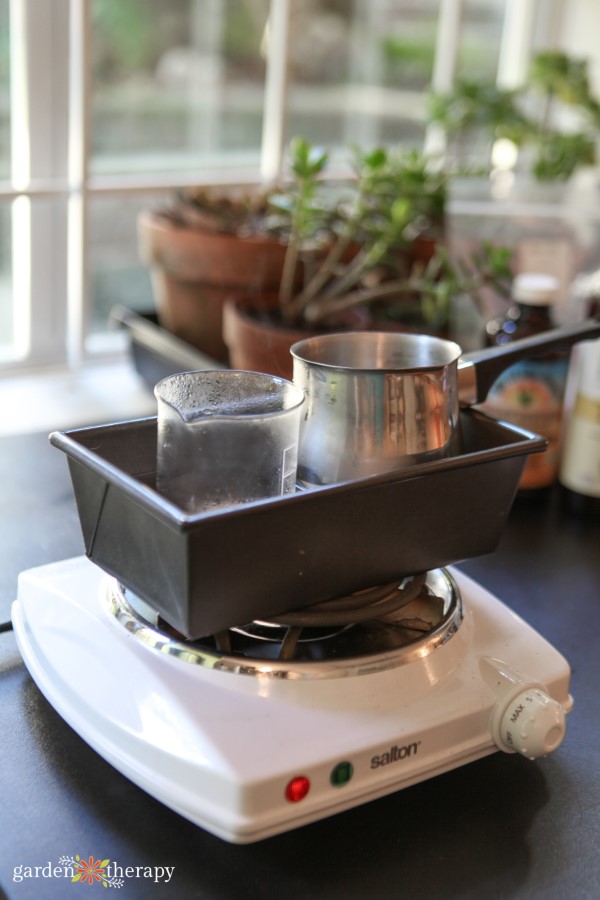
Before even getting started, sterilize all your equipment and your workspace. Then, weigh out all your ingredients separately, combining all your oil ingredients together and then your water ingredients.
With a double boiler, heat both the water and oil ingredients to 160 degrees while keeping them separate. Let them sit at this temperature for twenty minutes.
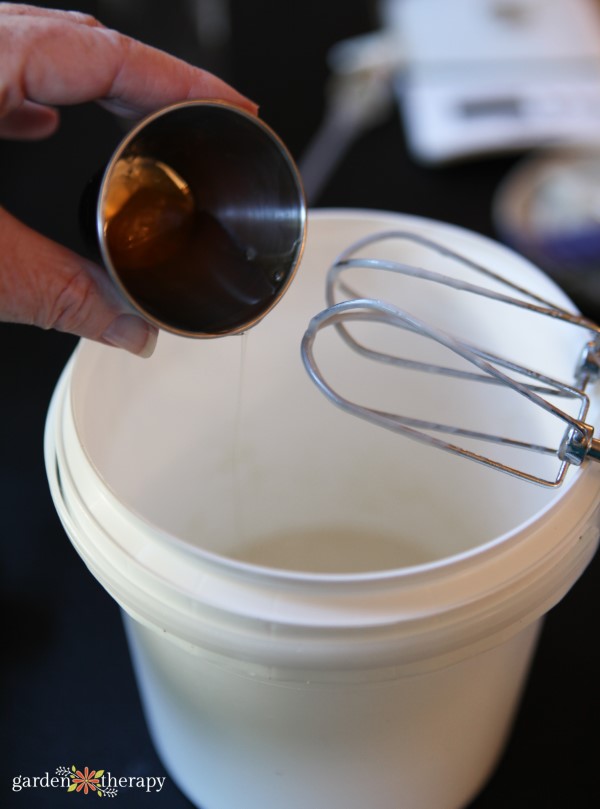
In a mixing bowl, pour in the oil ingredients followed by the water ingredients. Use an electric mixer to combine the ingredients and thicken the mixture.
When the mixture cools to 80 degrees, add in the cool phase ingredients. Continue mixing with the electric mixer until it reaches a fluffy consistency.
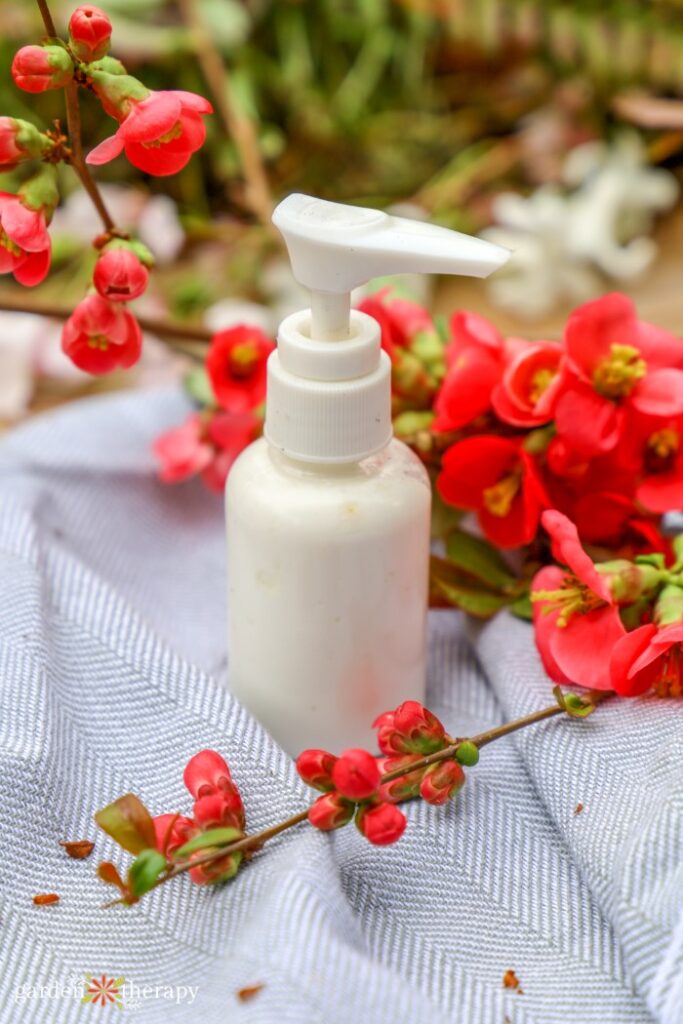
Then it’s ready for a container! Put into a sterilized container with a pump. You can use a piping bag to help get the lotion into a container with a small opening.
Use this flower cream within six months. Discard earlier if you notice any change in colour or odour.
Floral Lotion FAQ
Making lotion for the first time can be difficult. If you’re having any issues, I encourage you to check out the FAQ section of my magnesium lotion where I answer some of the most common issues in regard to making floral lotion.
If you still have a question, feel free to leave it in the comments down below, and I’ll do my best to answer you as quickly as possible! But here’s a few common questions I get.
The issue with the mould would have happened while you were making it—likely using something that hasn’t been sterilized in the preparation area, such as the bowls, jars, spatula, etc. It’s essential to use sterile tools and spray everything down with alcohol.
I have a jar of this lotion that will last for six months and show no signs of mould. If I have extras, I put them in my fridge until they’re ready to use. But I keep the jar I’m currently using in my bathroom stored at room temperature.
Lotion is prone to separating when you make it. While there are emulsifiers to prevent this, you still need to blend it. Use an electric blender or an immersion blender until it looks like it’s holding together, and then let it cool. Repeat if necessary.
More DIY Lotion Recipes
- How to Make Magnesium Lotion: Benefits + How to Use
- DIY Hand Cream: Non-Greasy and Ultra Absorbing
- Calendula Lotion Bars for Soothing Summer Skin
- How to Make Lotion: Ultra Moisturizing DIY Lotion Recipe
DIY Floral Lotion
Equipment
Supplies
Aqueous Phase Ingredients
- 110 g distilled water
- 3 g aloe vera gel
- 3 g glycerine
Oil Phase Ingredients
- 20 g grapeseed oil
- 20 g sunflower oil
- 8 g BTMS 25
- 8 g cetyl alcohol
- 4 drops Vitamin E oil
Cool Phase Ingredients
- 6 g leucidal
- 4 g panthenol (Vitamin B5)
- 8-12 drops essential oil of choice (optional)
Instructions
- Sterilize all your equipment. Weigh out your ingredients. Combine all your oil ingredients together and the water ingredients together.
- While keeping separate, heat the water and oil ingredients to 160 degrees. Let sit at this temperature for 20 minutes.
- Pour the oil ingredients followed by the water ingredients into a mixing bowl. Combine with an electric mixer until the mixture thickens.
- Once cooled to 80 degrees, add in the cool phase ingredients. Mix with the electric mixer until it reaches a fluffy consistency.
- Pour into a sterilized pump using a piping bag. Use within 6 months.
A city girl who learned to garden and it changed everything. Author, artist, Master Gardener. Better living through plants.