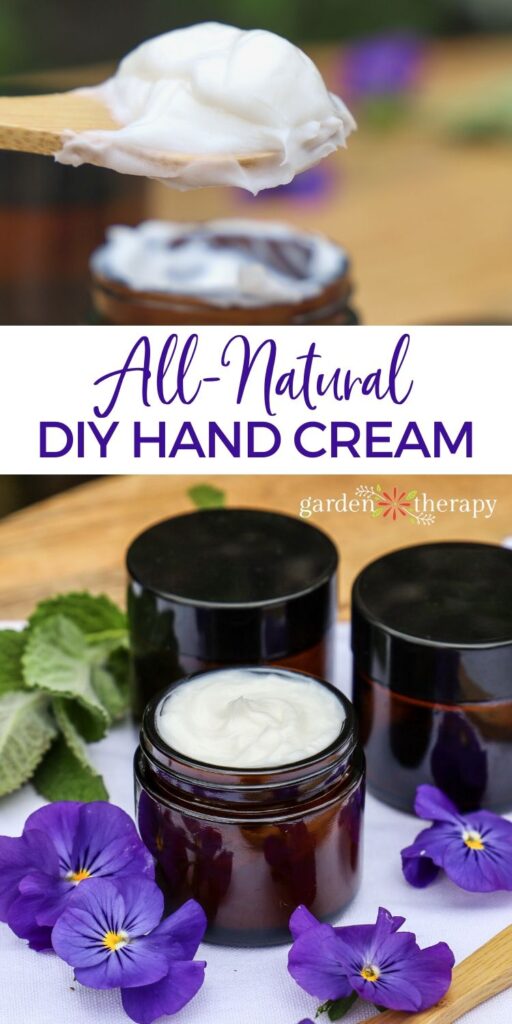
If your hands are chapped and dry from washing and working in the garden, you’ll love this DIY hand cream. If you have never done it before, you’ll be amazed at how much fun it is to learn how to make lotion from holistic, natural ingredients.
I’ve always considered myself a very hygienic person, and have done my fair share of hand washing. And the second it is cold and flu season, hand washing increases tenfold. While my hands are certainly clean, they are also rough, dry, and starting to chap.
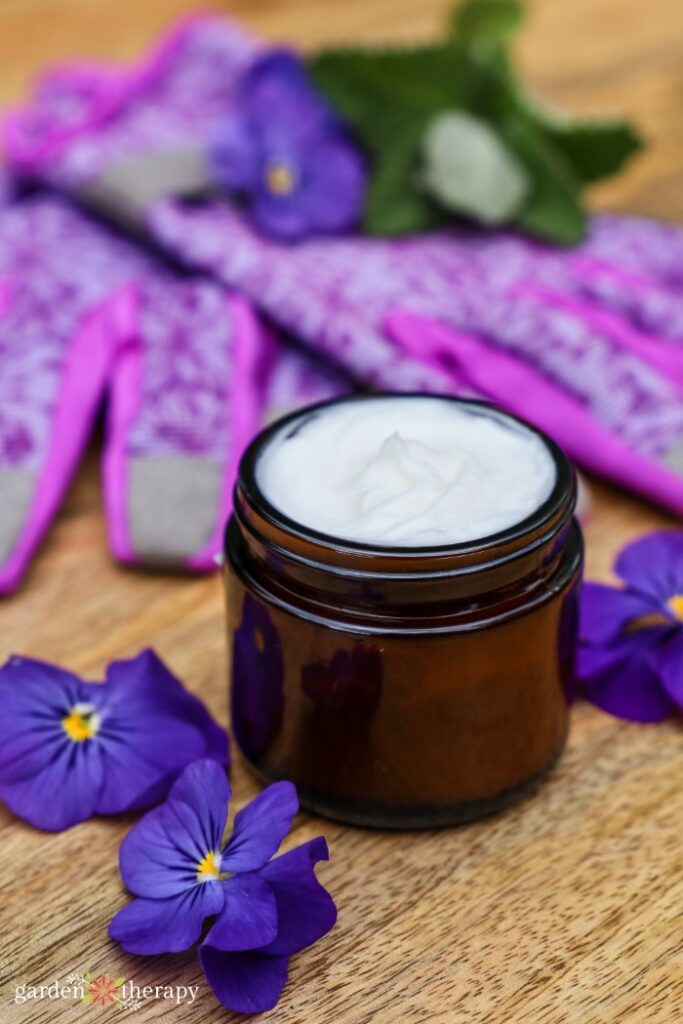
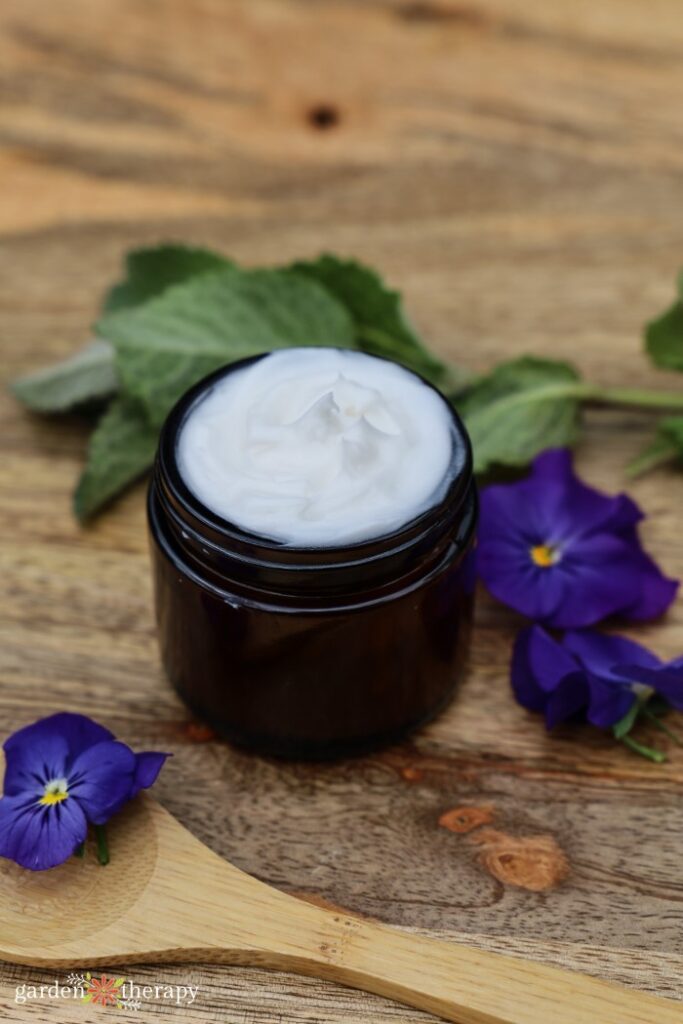
As a gardener, I’m quite used to my hands taking a bit of abuse, but I always make a point of treating my hands to a rehydration treatment of some kind. My current favourite is this DIY hand cream. It feels luxurious and smells fantastic too!
This post will cover…
- Benefits of Hand Cream
- Supplies for DIY Hand Cream
- Distilled Water
- Lavender Hydrosol
- Grapeseed Oil
- Sunflower Oil
- BTMS 25+ Cetyl Alcohol
- How to Make DIY Hand Cream
- Ingredients in DIY Hand Cream
- Aqueous Phase Ingredients
- Oil Phase Ingredients
- Cool Phase Ingredients
- Make it!
- How to Apply Homemade Lotion on Your Hands
- How to Store DIY Hand Cream
- More Plant-Based Beauty Projects to Try:

Benefits of Hand Cream
Using a DIY hand cream like this one certainly feels good, but there are other important reasons you should be using lotion. Moisturizing your hands regularly keeps the delicate skin on your hands from breaking down.
As skin is what protects our bodies, it’s important to keep it resilient to damage and resistant to germs. Keeping your hands soft makes you more comfortable while also giving your skin a healthier appearance.
Supplies for DIY Hand Cream
There are three different phases in this homemade lotion recipe, and each requires its own ingredients. Here is everything you need to have on hand:
Distilled Water
Distilled water is created when water is boiled into a vapour state and then condensed back into a liquid. This process removes 99.9% of impurities within the water.
Using distilled water instead of tap water or any other kind of water is crucial for a project like this. If you use any other kind of water, your lotion can harbor harmful bacteria that you don’t want to rub your hands in.
Lavender Hydrosol
Hydrosols are getting a lot more attention lately—and for good reason. Hydrosols are produced through a distillation process of flowers, bark, peels, berries, wood, and other organic material.
Lavender hydrosol, in particular, is a known antiseptic and oil solvent.
I use lavender hydrosol in many homemade beauty products, including my DIY spray sanitizer. It’s important to note that while this hydrosol does have some disinfecting properties, on its own, it does not meet the alcohol level required for sanitization. Read more about that here.
Grapeseed Oil
Grapeseed oil is a fantastic option for recipes like this DIY hand cream. It is fast-absorbing and light, without being greasy at all. Additionally, grapeseed oil is also full of antioxidants that can help keep your skin healthy.
Sunflower Oil
Another favourite option for homemade lotion is sunflower oil. This type of oil is very hydrating for your skin. It’s also fast-absorbing and can work great as an herb-infused oil. In this particular recipe, the sunflower oil is infused with calendula, which helps take on the plant’s properties. Plus. sunflower oil is an excellent source of antioxidants and vitamin E, both essential for healthy skin.
BTMS 25+ Cetyl Alcohol
As you probably know, water and oil don’t mix. To help your water-based ingredients and your oil-based ingredients come together into a homogeneous mixture, you need an emulsifier, which is what BTMS is.
Cetyl alcohol is a thickener that helps keep this homemade lotion nice and thick.
Both of these are plant-based and could use names that sound less intimidating because they are essential to this recipe.
BTMS is plant-based emulsifying wax that is naturally derived from Colza or Rapeseed oil, and cetyl alcohol is a plant-based fatty alcohol derived from coconut or palm. Whenever you come across an ingredient that makes you think twice, you can always look them up on the EWG’s Skin Deep Database.
Learn more about each in my post about DIY natural lotion here.

How to Make DIY Hand Cream
Now that you know why the ingredients are in this recipe, let’s talk about how to make it.
Ingredients in DIY Hand Cream
Makes 100g – enough to fill 3 x 2 oz jars
Aqueous Phase Ingredients
- 35 g distilled water
- 20 g lavender hydrosol
- 2 g aloe vera gel
- 2 g glycerine
Oil Phase Ingredients
- 10 g organic grapeseed oil (infused with lavender)
- 10 g organic sunflower oil (infused with calendula)
- 4 g BTMS 25
- 4 g cetyl alcohol
- 2 drops Vitamin E oil
Cool Phase Ingredients
- 3 g leucidal
- 6 drops lavender essential oil
Make it!
The first thing you need to do when making this DIY hand cream is to sanitize all of your equipment and the workspace. This will help prevent bacterial growth, and I highly encourage you not to skip this step.
There is nothing worse than making a gorgeous hand cream and having to toss it out because of mould growth after a few weeks. I have made the mistake of reusing jars that were washed only in the dishwasher and not sanitized with alcohol, and had to throw away a batch. I only made that mistake once, as it was so heartbreaking to throw it away.
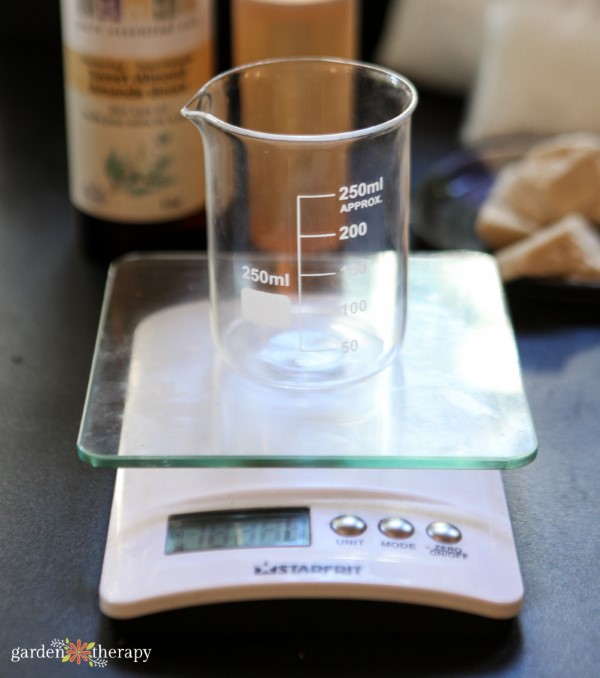
Next, use a kitchen scale to begin measuring out your oil ingredients as listed above. I add them to a heatproof glass container.
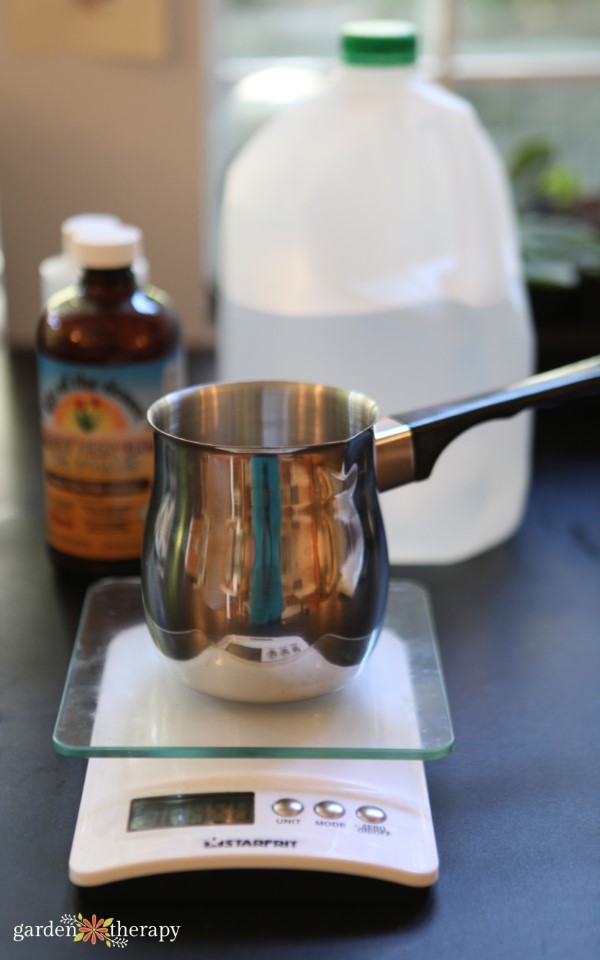
Next, measure all of the water ingredients and add them to a different heatproof container (I used a Turkish coffee pot this time).
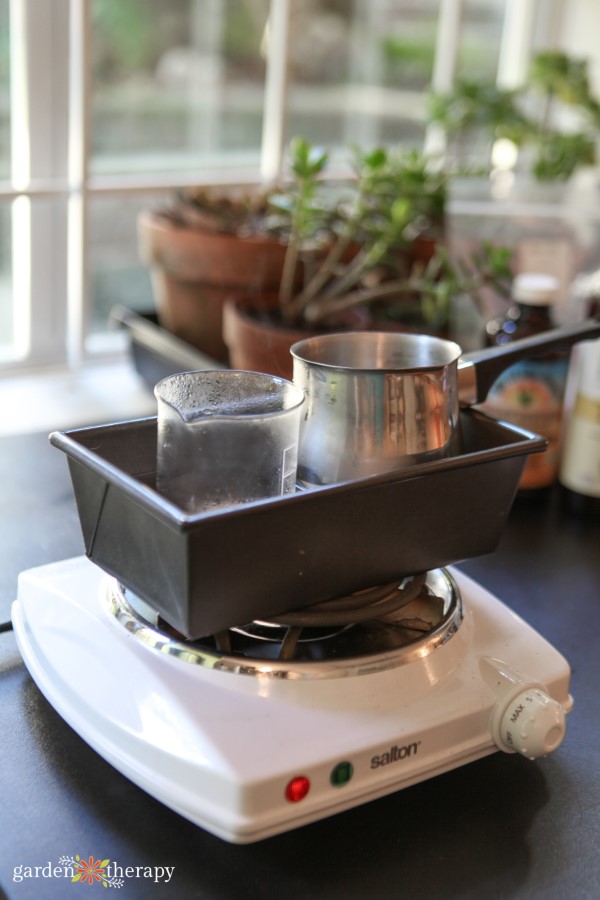
Use a double boiler to heat up the oil-based ingredients and the water-based ones. You can even make your own double boiler, as I did in the image below.
Heat everything to 160 degrees, then keep it at that temperature for 20 minutes. Just like when you can fruits and vegetables, this will help to kill off any bacteria.
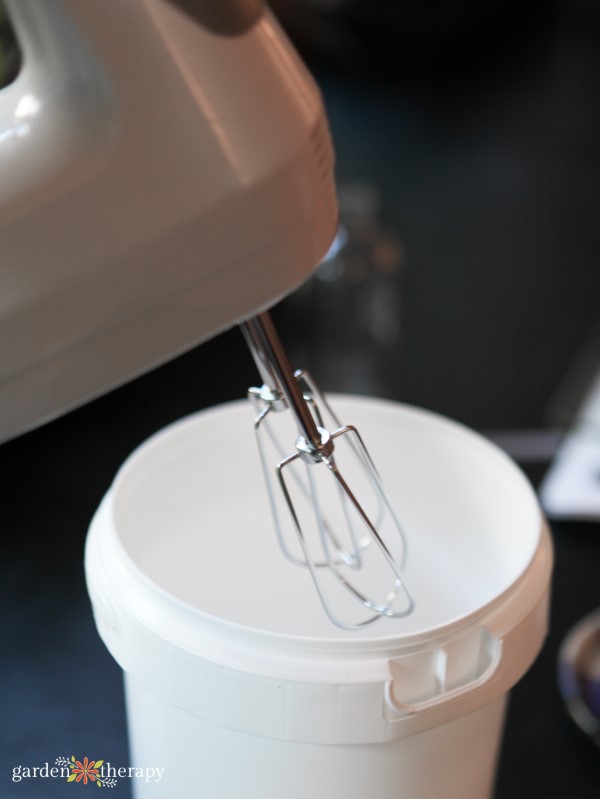
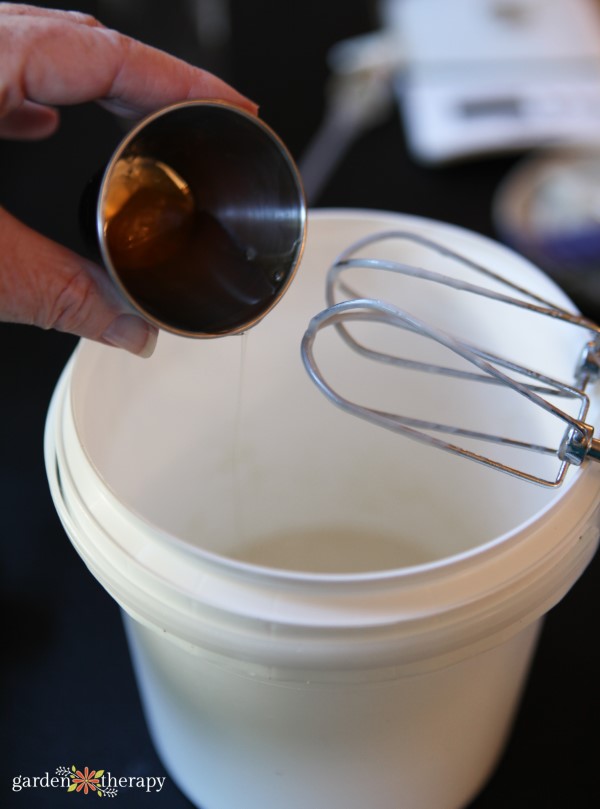
Next, pull out a mixing bowl and pour the oil ingredients in first. Then add the water-based ingredients. Combine them together with an electric mixer until they thicken up and cool.
Continually check the temperature of the ingredient mix. Once it goes down to 80 degrees, you can add the cool phase ingredients. These are all heat-sensitive and will break down at temperatures that are too high, so it is important to make sure your lotion is cool enough.
Keep using the mixer to mix up your day hand cream. You want it to be thick, but not as fluffy as your typical lotion.
How to Apply Homemade Lotion on Your Hands
This DIY hand cream is fast-absorbing and not at all greasy. This recipe is richer than many commercial lotions. It uses less water, which means you need to use less lotion to get great hydration.
Simply wash your hands well, then dry them. Next, apply a small, dime-sized amount and rub it into your skin to absorb.
How to Store DIY Hand Cream
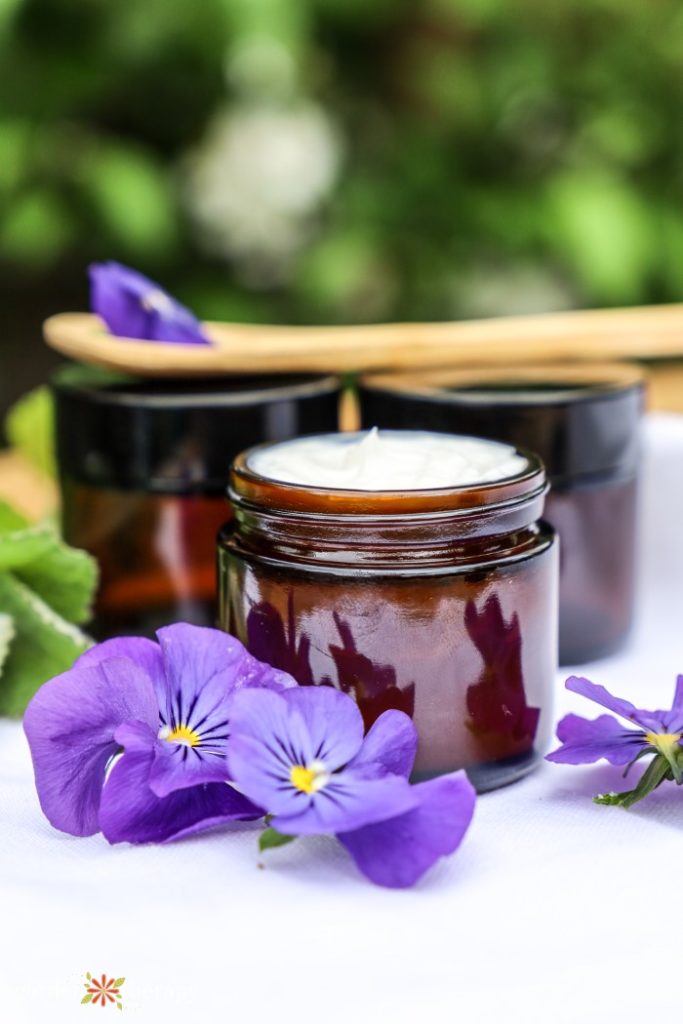
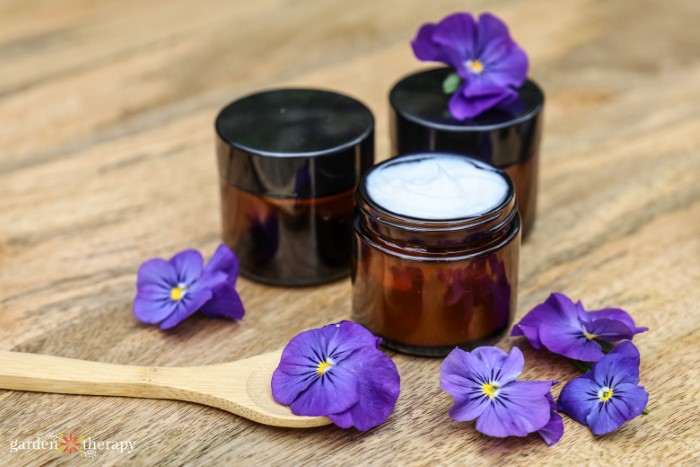
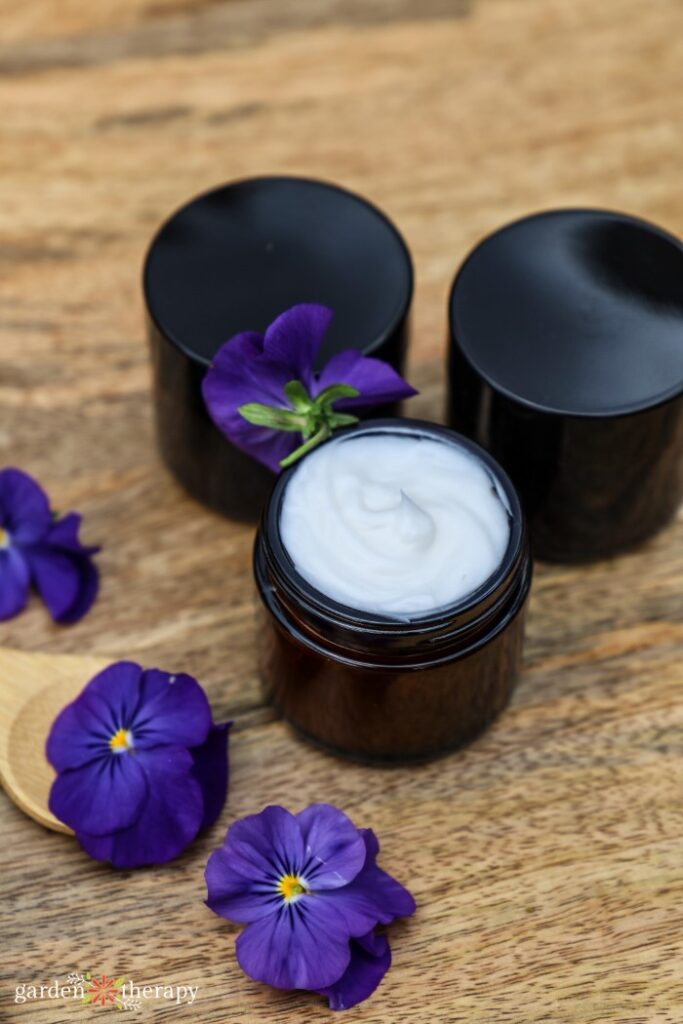
I’ve prepared this recipe in small pots rather than in a pump, although you certainly could put it into a pump. I like having it in small pots like these so they can be tossed in a bag and taken with you.
It’s also best to apply small amounts on a regular basis to help repair dry skin and the damage done by frequent hand washing.
However you store this lotion, make sure to use it all within 3 months.
More Plant-Based Beauty Projects to Try
- DIY Herbal Foot Soak
- 32 Incredible Natural Soap Recipes
- Healing Cuticle Balm
- How to Make Sugar Scrub: 6 Recipes
DIY Hand Cream
Equipment
- 2 heatproof containers
Supplies
Aqueous Phase Ingredients
- 35 grams distilled water
- 20 grams lavender hydrosol
- 2 grams aloe vera gel
- 2 grams glycerine
Oil Phase Ingredients
- 10 grams organic grapeseed oil (infused with lavender)
- 10 grams organic sunflower oil (infused with calendula)
- 4 grams BTMS 25
- 4 grams cetyl alcohol
- 2 drops Vitamin E oil
Cool Phase Ingredients
- 3 grams leucidal
- 6 drops lavender essential oil
Instructions
- Clean and sanitize your workstation and all equipment.
- Measure your oil ingredients with a kitchen scale and pour them into a heatproof container
- Measure your water ingredients using a scale. Then pour in to a separate heatproof container.
- Use a double boiler to heat both the oil ingredient container and the water one to 160 degrees. Keep it at that temperature for 20 minutes to kill off any bacteria.
- Pour the oil ingredients into a mixing bowl, then add the water ingredients. Combine them together with a hand mixer.
- Continue mixing until they heat up and cool down to 80 degrees. Once it's at 80 degrees, add in the cool phase ingredients.
- Use the mixer to whip it up until it's fully mixed. It should be thick, but not as fluffy as lotion. Scoop the hand cream into small jars and use within 3 months.
A city girl who learned to garden and it changed everything. Author, artist, Master Gardener. Better living through plants.


Hi I’m Lilian thx for the recepi I’ll try to make it
Hi Stephanie, this looks like a lovely cream. If I don’t have hydrosol, could more distilled water be used instead? Any other suggestions? thank you,
yes, you can certainly replace the hydrosol with distilled water. Thank you!
Hola, cómo puedo sustituir Cetyl alcohol?
Poner más BTMS?
Quizás inulina?
Gracias, nunca he comentado pero te sigo hace tiempo 💚
Thanks. Tell me please, what can I replace sunflower oil with?
I have two diebetic friends that suffer from dry hands, great idea for gift giving this year. I notice that cute single burner. Sorry to hear about your flooding up in the area but glad to hear neighbors helping each other pulling together.
Hi! Can’t wait to try this! Just to let you know the link to the BTMS goes to some bug thing on Amazon.