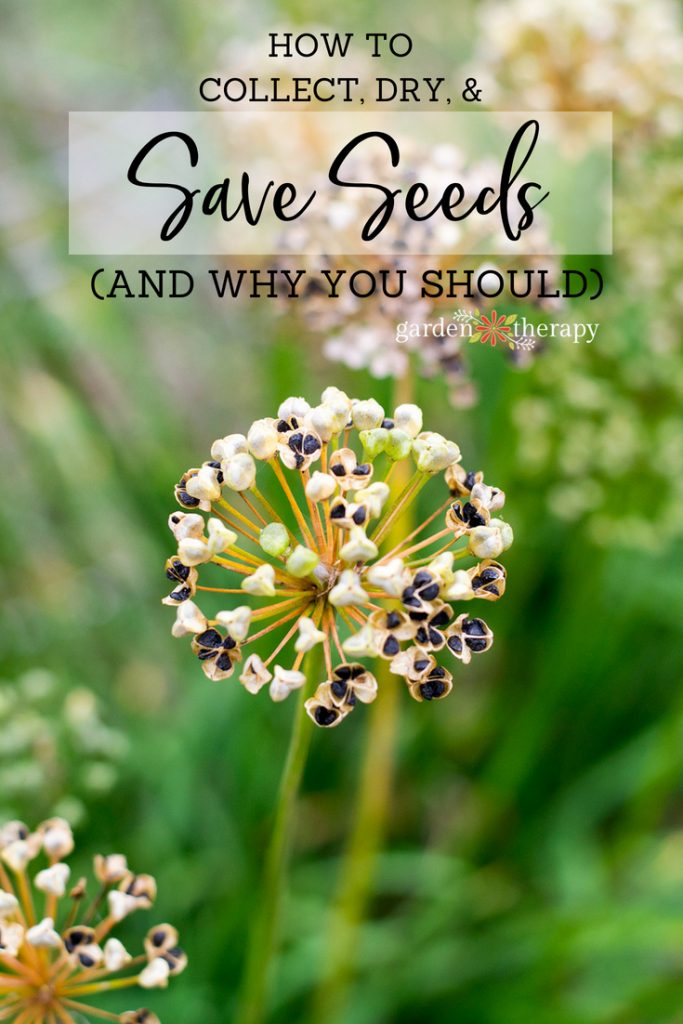
Seed saving is a lost art that seems to be making its way back to popularity with gardeners. Seeds are largely inexpensive to buy, making them an easy and economical way to grow your garden by buying them in the store. But there are some reasons why seed saving is coming back into vogue in the home garden.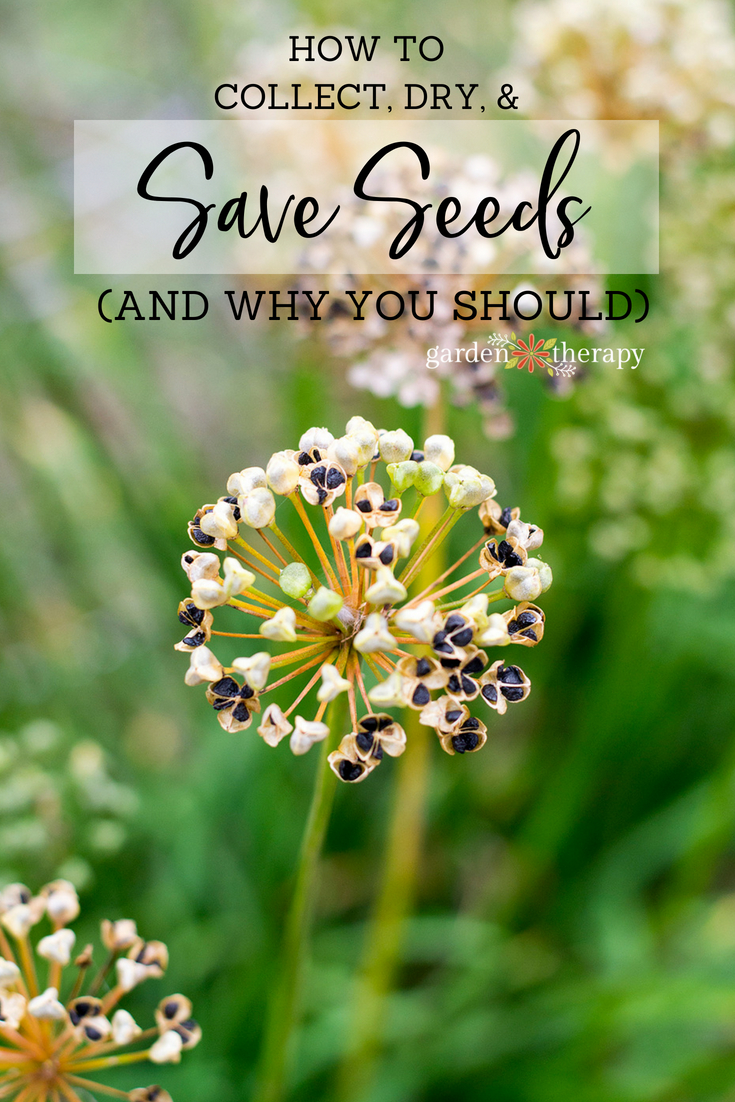
First, seed saving will not only save seeds but also save your hard-earned money. Store-bought seeds are cheap compared to transplants, but seeds you save yourself are free. And you’ve certainly noticed that the bill from your seed purchases can really add up! Second, when you save seeds from the best specimens in your garden, you will improve your seed stock year after year. The seeds will develop strong traits well suited to your garden’s individual microclimate. And, lastly, seed saving is immensely gratifying. How awesome is it be a part of your plant’s full life cycle?
Related: How to Save Heirloom Tomato Seeds
Plant the Garden with Seed Saving in Mind
The best way to start seed saving begins at planting time. When you plan out your garden, do so with the intention of saving seeds at the end of the season. Plant from seed or transplants with this in mind: you can only save seeds from heirloom or open-pollinated plants. They will be identified as heirloom or marked as “OP” on seed packages. Open-pollinated and heirloom plants have the best chance of growing true to the parent plant. Hybrid plant seeds risk producing different characteristic of the parent plants, or characteristics of only one parent in the hybrid. There is an excellent description of each classification here on SeedSavers.org.
Once you have your seeds, be careful not to breed them! Plant different varieties of the same species apart to avoid accidental hybridization. If your goal is to build up a good seed stock for a specific variety, it’s better to keep them separate. You can stagger plantings of different varieties of the same species so that they flower at different times. This will help spread out the timing of seed collection. That said, plant breeding is fun! If you want to try your hand at plant breeding at home, then check out this book.
 Harvest Only the Best
Decide what traits you want to pass on to the next generation and prioritize those traits for harvesting seeds: earliness of fruiting, abundance of fruit, size of fruit, flavor, color, etc. Select the top ten percent of plants exhibiting the most desirable traits and save only their seed. Cull weak or otherwise undesirable individuals within the planting before they are allowed to flower. This will only leave the strongest plants, thus creating superior seeds.
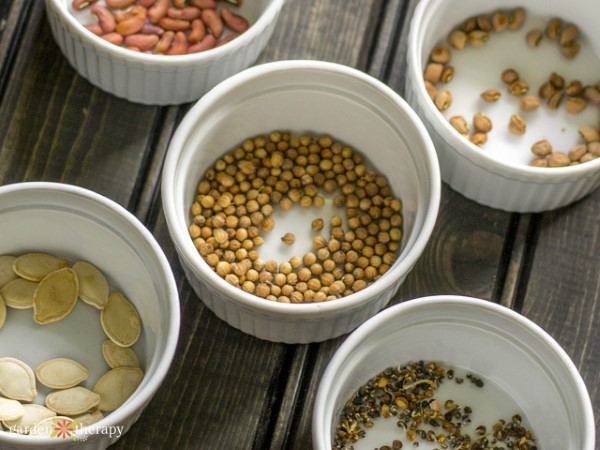
Separate and Prepare Seed for Storage
Allow the fruit to completely ripen on the vine before harvesting for seed. In many cases it would be considered “overripe” by eating standards (for example, giant zucchini or bolted lettuce). Here are some general guidelines:
- If the seed is in a fleshy fruit like squash or eggplant, scoop out the seed mass and place it in a jar with water at room temperature. Let it sit for a few days, stirring occasionally to loosen any of the flesh still attached to the seeds. After a few days, the viable seeds will be sitting at the bottom of the jar. Strain and then let them dry completely before storing.
- Tomatoes are a bit different as the seeds need to be fermented. Read about How to Save Heirloom Tomato Seeds.
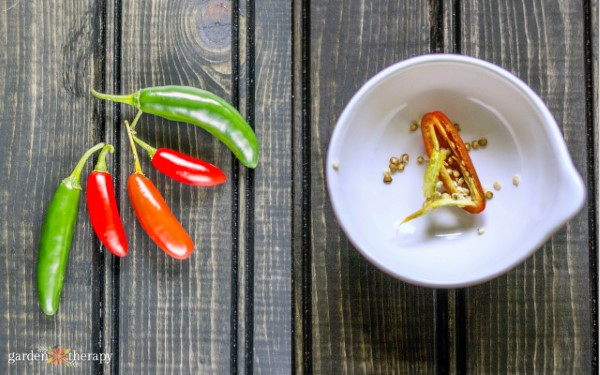
- Some seeds inside fruit such as dry gourds and peppers are easy to collect. Cut open the fruit and remove the seeds to dry on a paper towel.
- For more details on how to save vegetable seeds, read this post.
- Strawberry seeds are on the outside of the fruit. In many cases, it’s best to start strawberries from runners rather than seed, except when it comes to Alpine strawberries. Read more on How to Collect Alpine Strawberry Seeds.
- Find seeds within a flower bud on lettuce and marigold by cutting open the flower to reveal the seeds inside. Some, like sunflowers, are easy to find because the seeds are visible in the flower, whereas others can be tiny or tucked inside.
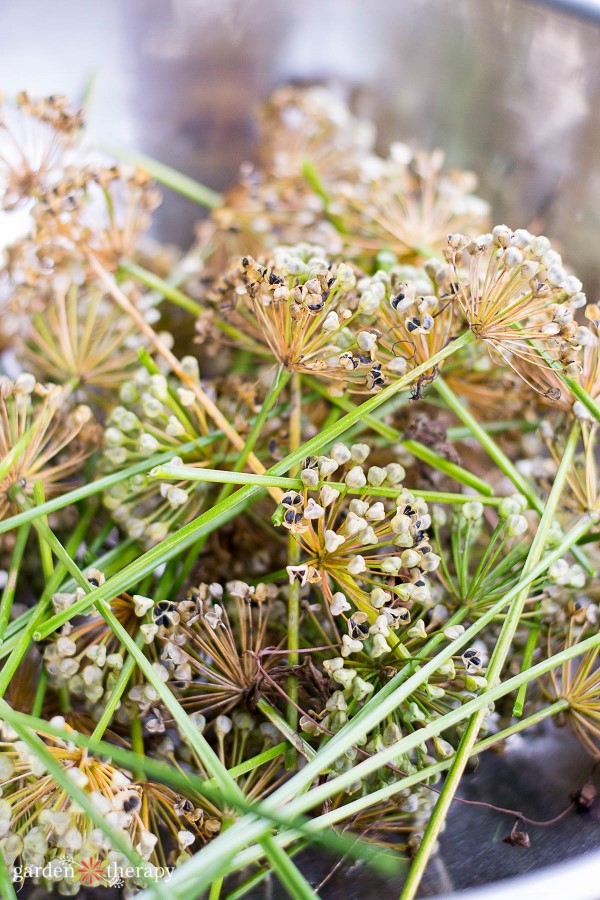
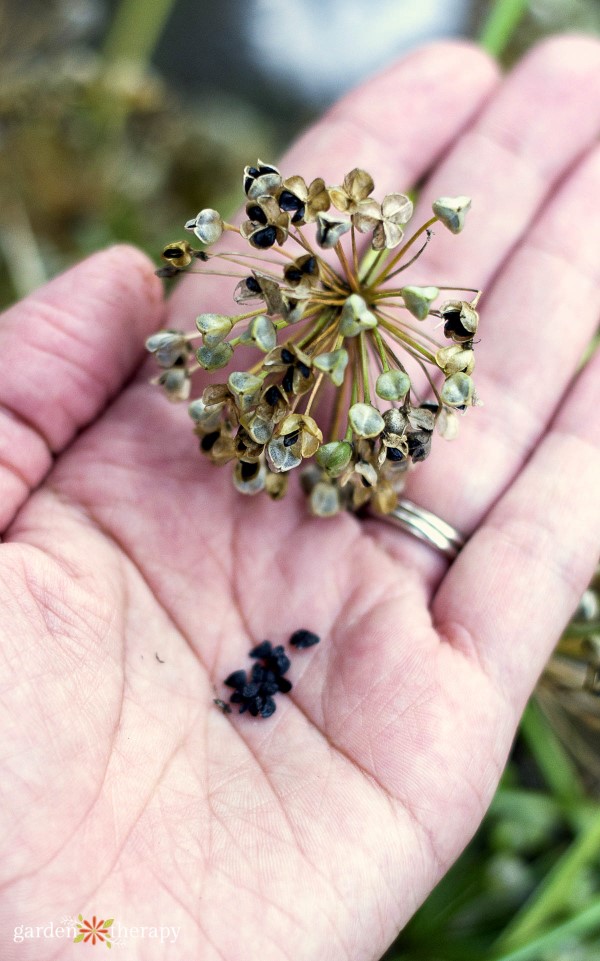
- For seeds that are harvested dry, like poppy seeds or chives, let the seeds dry right on the plant. Collect them carefully by breaking open the pod and shaking them onto a dish towel to separate them from the pod and stems.
- It’s also best to allow seeds encased in pods, like beans and lilies, to dry on the plants. Collect them carefully by breaking open the pod and separating the seed from the pod and stems.
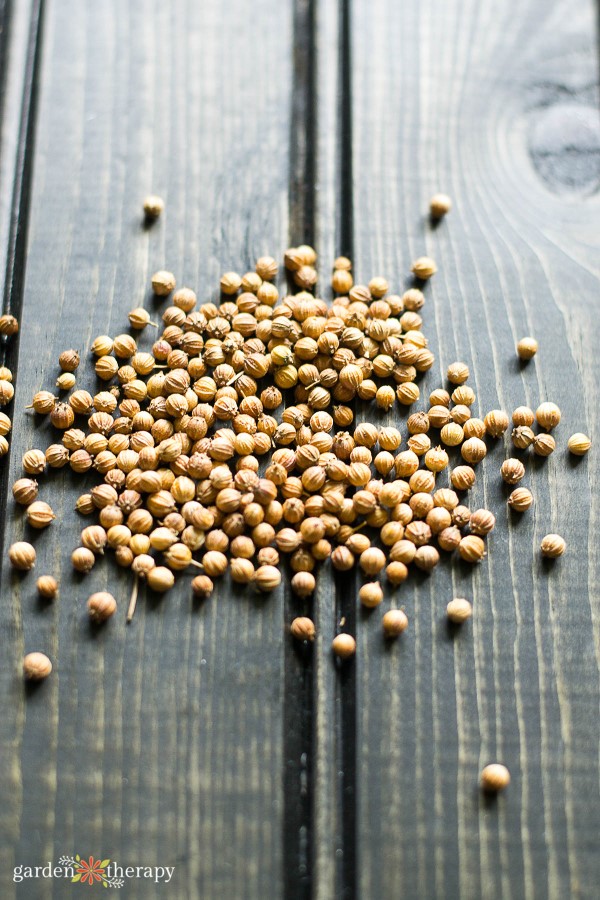
When the seeds are completely dry, seal them in airtight packaging and label with variety, growing location, and date. Seeds must not be kept where they will not be exposed to dampness or fluctuating temperatures. Store seeds in a cool, dry location for up to two years. Each additional year that seeds are stored reduces their germination rates.
Related: Printable Seed Envelopes for Herbs, Printable Seed Envelopes for Vegetables, Printable Seed Envelopes for Flowers
 Plant the Seed
The more generations of plants you grow from your own seed stock, the better chance you have of showing marked improvement. Be sure to give some of your saved seeds away to other gardeners! Sharing your home-saved seed in your local area provides a source of improved seed that has adapted to local climate and soil.
Read more on seed starting in the Ultimate Guide to Seed Starting

 Harvest Only the Best
 Plant the Seed