Super simple quick-pickled radishes that are ready to eat the next day! You’ll be amazed at how easy this pickling recipe is. Enjoy your pickled radishes on their own, or place them on sandwiches, tacos, and more.
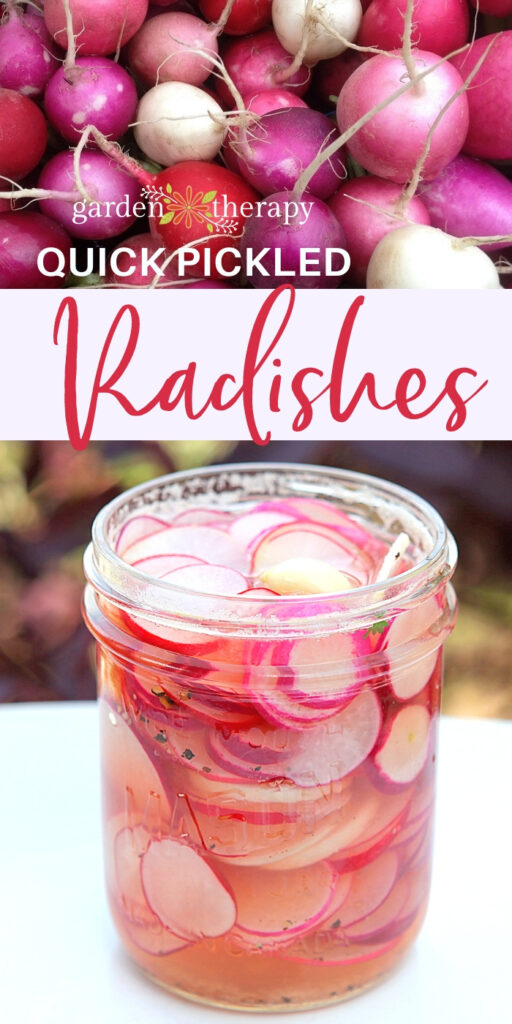
Radishes. People tend to either love them or hate them. and honestly, there just aren’t enough recipes with radishes. They are just about the most fun veggie out there but they are completely under-appreciated.
What’s not to love? Radishes are:
- Easy to grow
- Go from seed to food in a month
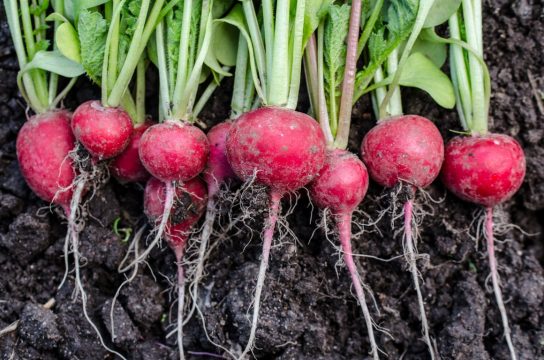
- Have gorgeous (red/purple/pink/white) globes hidden under the soil
- Add just the right spicy kick to summer food
They are also really good for your health, as they contain fiber, potassium, Vitamin C, and other essential vitamins and minerals.
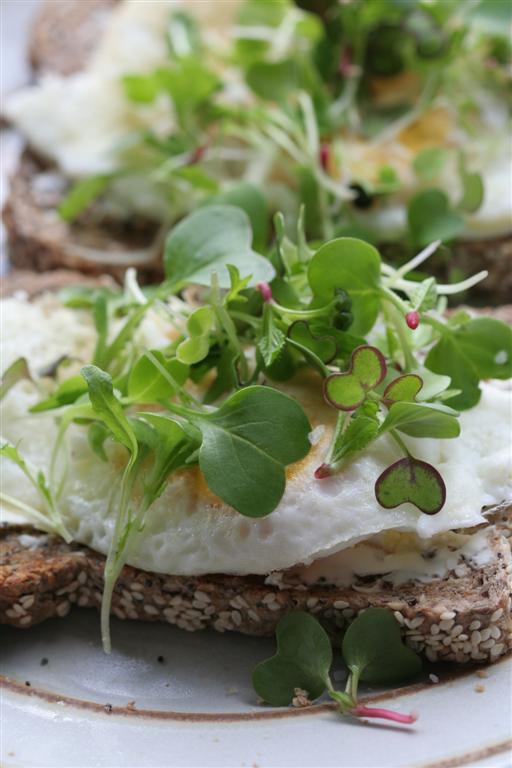
Many times, we only use them in early spring as they are among the first fresh veggies ready in the garden or the market. In case you didn’t realize, you can also eat the radish microgreens – they’re fabulous in salads or as toppings for other dishes.
Add Radishes to Your Garden
Radishes are one of the easiest and fastest vegetables to grow. That isn’t an exaggeration! From the time you plant them, they are ready to harvest in just under a month.
Plus, they grow well among other vegetables, so feel free to grow them in between your lettuce, swiss chard or even your kale.
Did you also know that radishes don’t need full sun to thrive? If you have a garden spot that’s partially shady, go ahead and plant radishes there because they will grow!
Ways to Use This Picked Radish Recipe
As with other favorite condiments, there are countless ways to use these pickled radishes.
Radishes provide a lovely bite without overpowering other flavors that you might be enjoying (the way raw onion can).
Quick-pickled radishes offer a sweeter, spicier flavor than their fresh counterparts. That’s why they are the perfect complement to so many dishes.
Here are a few different ways we use quick-pickled radishes in our house as well as other ideas of how to use them:
- To add a tangy, crunchy zip to salads
- Use on sandwiches
- Replace pickles on burgers
- Freshly toasted bread
- Add to Mexican dishes
- Enjoy with any summer barbeque recipe
- Eat them as a snack (like pickles)
Most commonly, we love to eat them as a side dish! I set out a jar at meals no matter what is being served and let everyone scoop a few for the side of their plate.
Inevitably, they will take a few more spoonfuls and gobble them up with tabbouleh, potatoes, or whatever else happens to grace their plates that day.
Pickled Radish Recipe Tips
With that being said, here are a few tips you will need to know when making pickled radishes at home!
It Will Smell
It’s worth noting that whenever you cook with vinegar, it will make your house smell.
Along those lines, I just have to say upfront: pickled radishes stink. They really smell terrible when you open up the jar. The vinegar smell is very pungent, but the experience of putting them in your mouth and eating them is completely different.
A 180-degree difference!
These pickled radishes taste incredible; in fact, they don’t taste anything like the way they smell!
The Thinner The Better
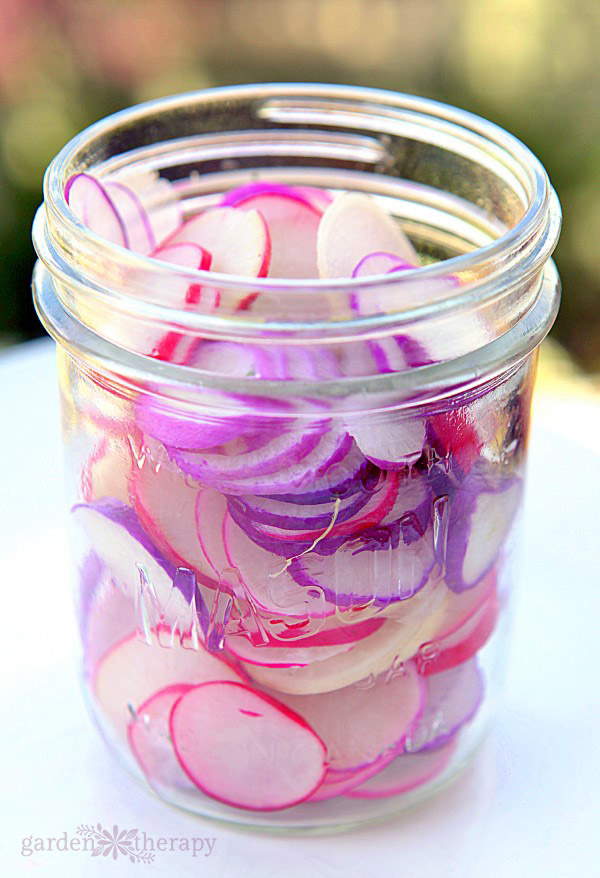
When you make this recipe, be sure to slice your radishes as thin as you can. The thinner your radishes, the more it’ll suck up the pickling liquid, and the faster your jar of pickled radishes will be closer to being ready to eat.
To do this, I recommend using a mandoline slicer since I find it to be extremely helpful when slicing your radishes. It also helps you to slice them quickly and as thin as you wish while keeping them all uniform.
FYI: Using a mandoline will help you speed up your slicing, but it’s also an easy way to lose the tip of your finger if you don’t use your mandoline carefully. If you prefer to slice by hand, a sharp chef’s knife works well.
How to Make Quick-Pickled Radishes
Have you ever wondered how to pickle radishes? If you love pickled foods and easy recipes, this recipe is for you.
Don’t have radishes on hand or in your garden? You could try making this recipe with thinly-sliced red onions or carrots instead. Or, get really adventurous and try making this recipe with all three veggies!
Quick-Pickled Radishes Ingredients:
- 1 bunch thinly-sliced round radishes
- 3/4 cup water
- 3/4 cup apple cider vinegar
- 1 1/2 teaspoons sea salt
- 3 tablespoons honey
- 2 whole, peeled garlic cloves
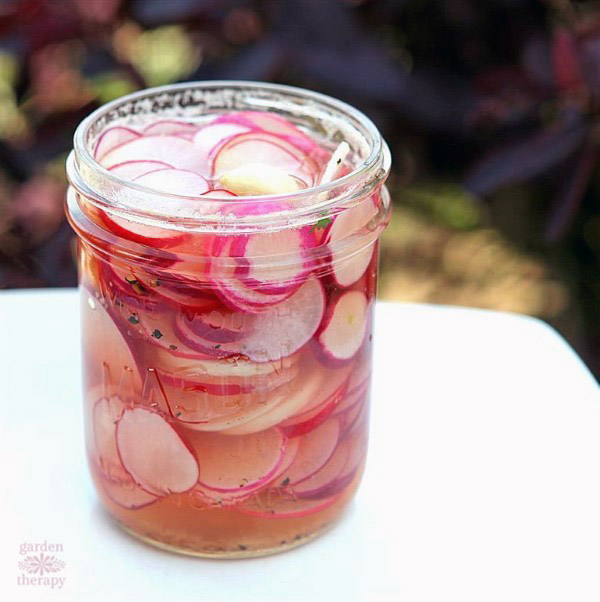
Pickled Radish Recipe Directions
- Prepare your radishes by slicing off the tops and bottoms of the radishes. Next, use a mandoline or sharp chef’s knife to slice the radishes into very thin slices.
- Heat up everything but the garlic and radishes in a small saucepan until everything is dissolved and boiling.
- Pack clean canning jars with thinly sliced radishes and a clove of garlic. Pour the hot liquid over the radish slices until fully covered and let cool. Once cooled, put the lid on your jar and place the closed jar in your refrigerator.
- Your pickled radishes are ready to eat after 24 hours. Store in the fridge for up to 3-4 weeks (if they last that long).
Didn’t I tell you that this recipe was an easy one? Regular pickles take a lot of time and more effort, which will make this pickled radish recipe your favorite to make! Trust me, you’ll make it again soon because they will disappear so fast.
So, this summer, re-introduce yourself to the radish. Go grab a bunch and pickle them!
More Garden Recipes to Love
- The Best Ever Deli-Style Sour Pickles Recipe
- Chive Blossom Vinegar and Vinaigrette
- Lavender Soda + Lavender Syrup + Lavender Lemonade
- Fresh Herb Finishing Salt Recipe
- Infused Strawberry Vinegar
Super Quick Pickled Radishes
Equipment
- Wide-mouth Mason jar
Ingredients
- 1 bunch thinly-sliced round radishes
- ¾ cup water
- ¾ cup apple cider vinegar
- 1½ tsp sea salt
- 3 tbsp honey
- 2 garlic cloves whole, peeled
Instructions
- Slice off the top and the bottom of the radishes, then use a mandoline slicer or a knife to cut the radishes into thin, even slices.
- Set aside the radishes and garlic. Heat all the remaining ingredients in a saucepan until dissolved.
- Add your sliced radishes and garlic to the mason jar(s), then pour the hot liquid over the top until covered.
- Let the liquid cool, then add the lid and place in the refrigerator.
- Wait 24 hours and enjoy!



Just a note- – The options on this page barely show up. They seem either light (too light) grey or very light (too light) yellow.) – -FYI.
I know! It was a design issue that will be changing soon…I have a whole new logo and color scheme coming!
One more – – is there an edit option? Can’t see or find one. Thanks.
No, there isn’t one. Only the post author can edit the post.