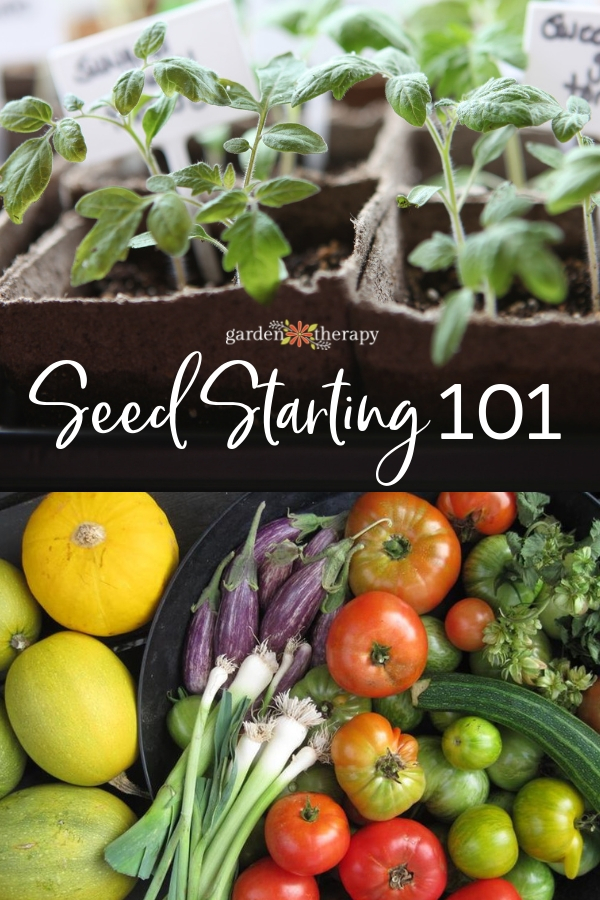
Organic gardens are as good for the earth as they are for its lucky inhabitants. The secret to growing a healthy, lush garden all begins with a single seed. This guide covers all the basics for starting seeds so that you can revel in your gardening wizardry this spring.
Are you planning to start a garden this year? Congratulations! It’s a big deal! Whether you are a seasoned gardener or a beginner, growing a garden is good for everybody. It feeds the soul and the soil and can even feed your family.
Starting a garden off right with healthy seeds sets the roots for how the garden will grow for the rest of the year. Sure, you can help manage sick plants and dried-out leaves, but starting seeds with good intentions and mad skills will make the rest of the year’s jobs a whole lot easier.
Some of you may think I’m crazy, but I believe that how you care for seedlings will be reflected in the plant that grows and the fruit that ripens. The garden is resting now. Perhaps even covered by a blanket of snow. Now, there is ample time to slow down, plan, and nurture the very best plants to grace your garden beds.
Let’s get this gardening season started with this guide on starting seeds.
- The 10 Steps for Starting Seeds
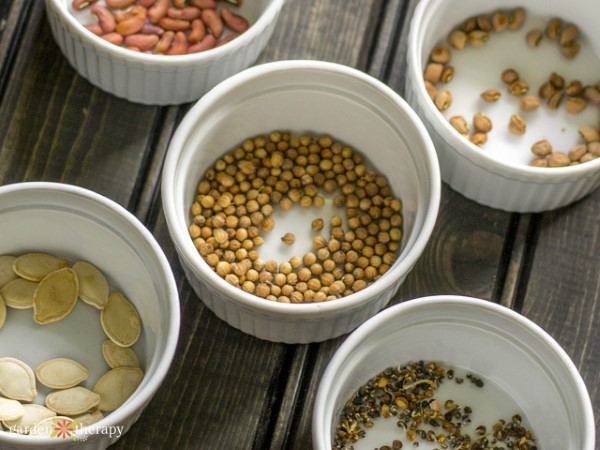
- 1. Choose Your Seeds
- 2. Read the Packet
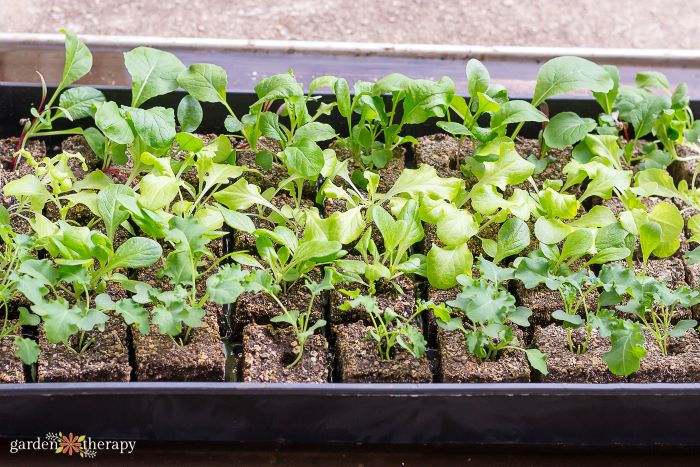
- 3. Choose a Container
- Greenhouse Kits
- Seed Starting Trays
- Household Items
- 4. Growing Medium
- 5. Water Your Seeds
- 6. Get the Right Lighting
- 7. Treat Damping Off
- 8. Thin Your Seedlings
- 9. Hardening Off
- 10. Set Your Expectations
- FAQ About Starting Seeds
- More Tips for How to Care for Seedlings
The 10 Steps for Starting Seeds
“I made this!” I gloat while serving up a dish made entirely of food that I grew in my garden. Well, “gloat” is probably not the right word. I prance around like the fantastical wizard I am, cheering about my mad skills in making real food from tiny seeds.
It took me months. I had some fatalities. But overall, it’s fairly simple to grow from seeds. And more importantly, it’s awesome. Here are some basics for how to start seeds at home.
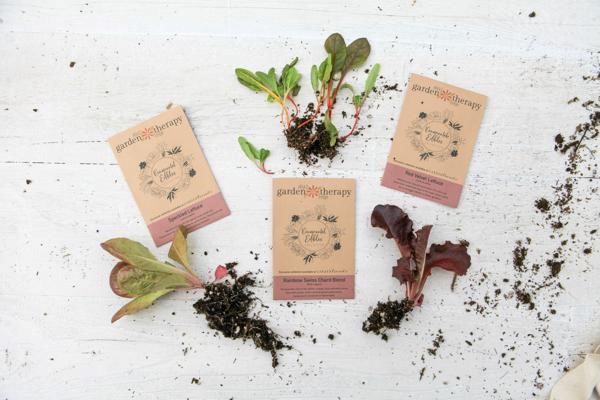
1. Choose Your Seeds
Starting seeds in the spring (or even winter) is one of the best ways to save money. While you could buy a pack of snapdragons at the garden centre to fill your containers, why not start them from seed at a fraction of the price? You also get way more varieties when you go the seed route.
This list covers my favourite annual flowers to grow from seed, while this list covers some of my go-to perennial flowers. Keep in mind that starting perennials from seed is often more difficult and time-consuming, so it is better suited for those with a few gardening seasons under their belt.
Seed companies in your area should sell the right seeds for your climate but do make sure that you pick the right plants for your experience level. If you’re a seedling yourself when it comes to propagation, don’t bother starting watermelons in Northern Ontario. Many seed companies will also list a difficulty rating that will help to guide you.
2. Read the Packet
If you want the best possible start for your seeds, your best bet is to read the packet. Most seed packets will list everything you need to know to start the seeds and their special requirements, like how deep to plant the seed, how much light they need, how long they’ll take to germinate, soil temperatures required, etc.
I cover all the basics of reading a seed packet in this post if you want to ensure you’re buying the right seeds and those that will actually thrive in your garden.
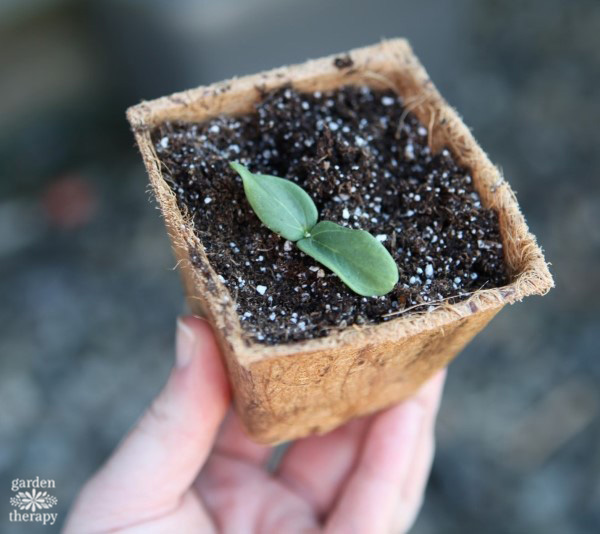
3. Choose a Container
You can start seeds in just about anything you can find around the house that will create a mini-greenhouse, or you can buy all sorts of interesting setups to best suit your needs.
Greenhouse Kits
Many different greenhouse kits are available now. Most will have a plastic tray with a clear plastic greenhouse dome. Some come with a soilless mixture for starting seeds, like peat pellets that expand to a mini seed pot when soaked in water.
Others may have coconut fibre pots that you can transplant right along with your seedling. Others may even have a heat mat that gently warms soil to improve germination.
The beauty of these kits is that you can start a large number of seeds individually in one tray (up to 72) and many are made for small spaces like windowsills. The drawback is that the seedlings will need to be replanted, either in the garden or a larger pot, in a few weeks. Leaving seedlings in small pots with no nutrition will cause unwanted stress to the plants.
Seed Starting Trays
Garden retailers will sell many different types of professional-grade seed-starting trays, domes, and inserts with features like root training, moisture control, automatic watering, and grow lights. Certainly, many of these features have value in starting the year’s plants off on the right foot and can be used over and over.
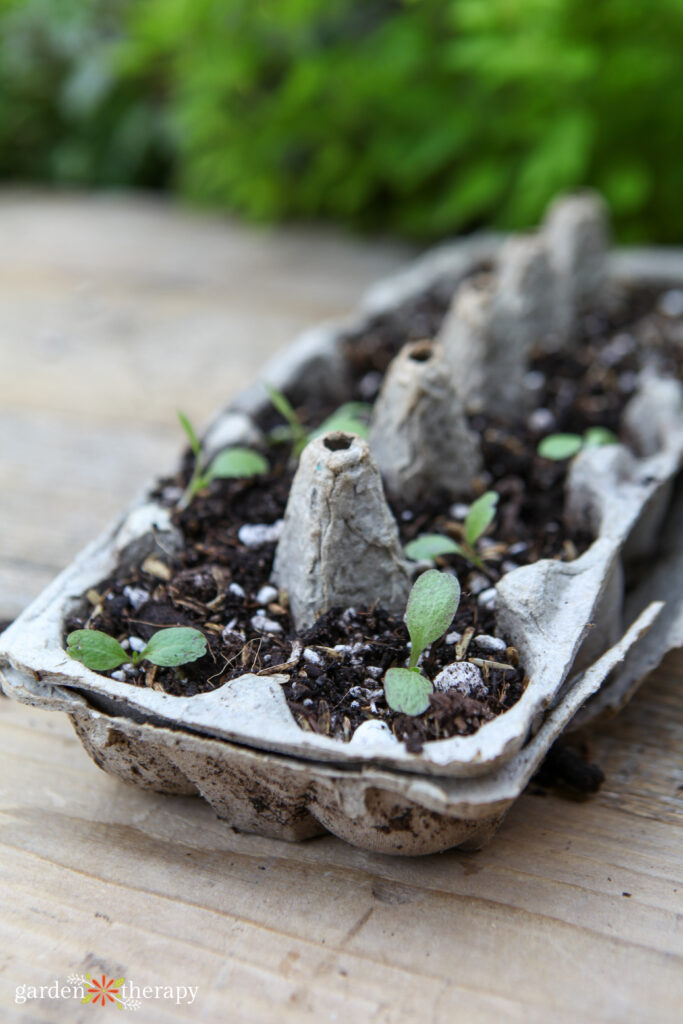
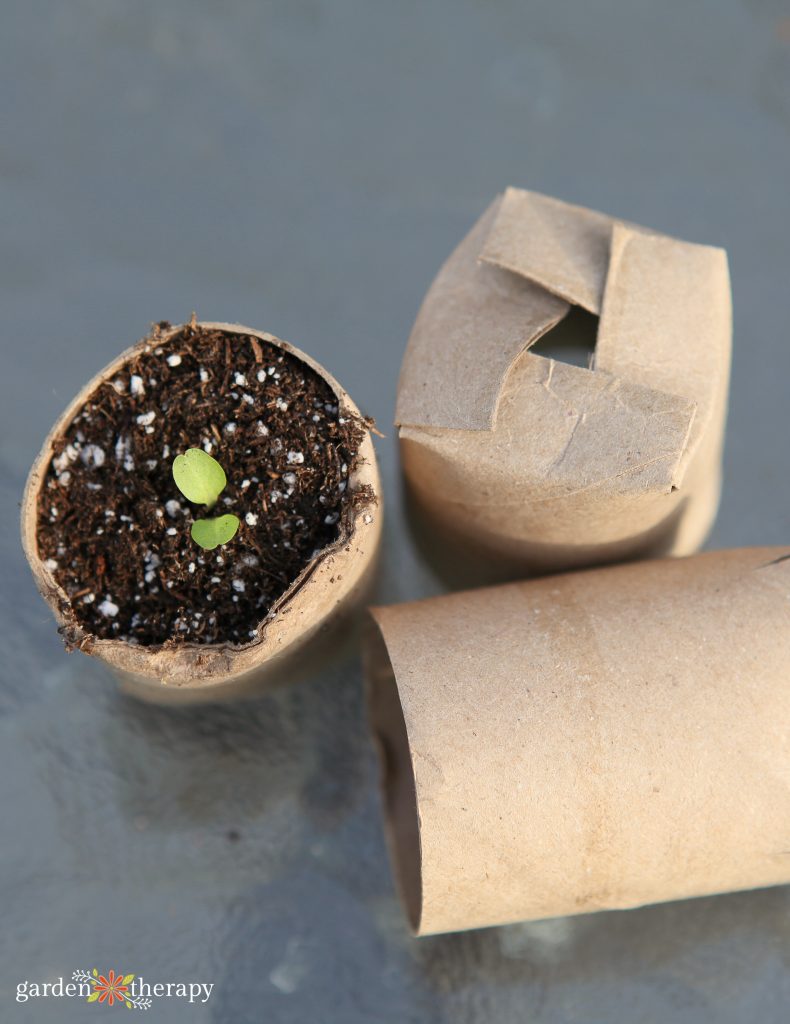
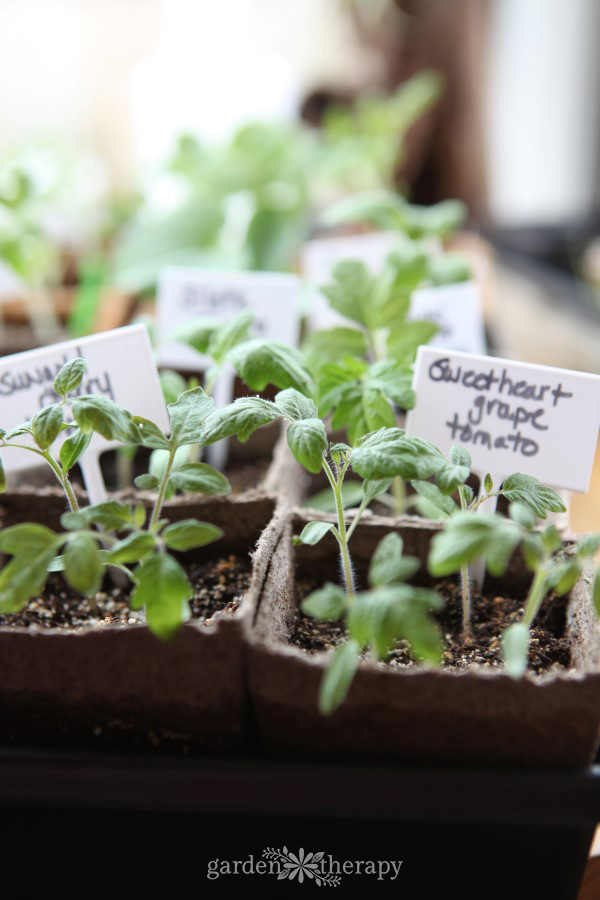
Household Items
An inexpensive and creative way to start seeds is to use household items as seed containers. Lining a seed tray with pots made from toilet paper tubes, newspaper, or egg cartons will cost nothing
At times, your family may think you’ve gone mad, given how excited you will become when you get to take home the plastic cake dome from the party. But come on, that’ll make a really great greenhouse dome, right?
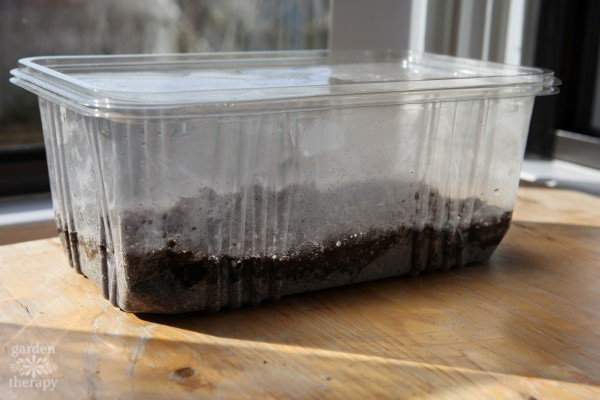
Search for biodegradable paper products you can plant right in the ground or food-safe plastic containers that you can use as mini-greenhouses for your containers if you are on a budget.
4. Growing Medium
You can buy a pre-made seed starter soil, or you can make your own with a mix. I make my own mix using a peat-moss alternative, sterilized compost, perlite, and vermiculite. This mixture is light and holds moisture well, so it is wonderful for helping seeds germinate.
All growing mediums will need some time to absorb water, so add moisture and let it soak in for an hour before planting.
Be sure to use a sterile mix if you are starting seeds indoors. Soil or compost from the garden will bring in all sorts of critters, like soil gnats, which will drive you freakin’ crazy as you run around your propagation trays like a mad person swatting and squashing an endless supply of teeny tiny flies.
5. Water Your Seeds
Germination will be best in a moist environment for most seeds, so keeping the soil damp and a greenhouse dome on top will keep the right amount of humidity for optimal germination.
Keep the soil from drying out by checking it daily. Water gently, from the bottom where possible, so as to not damage the seedlings about to emerge.
When learning how to start seeds, having just the right amount of water is important. You never want the seeds to dry out, nor do you want the soil to be soggy.
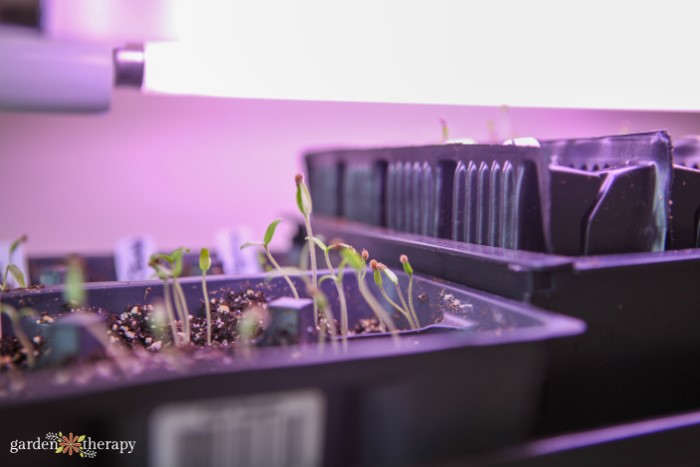
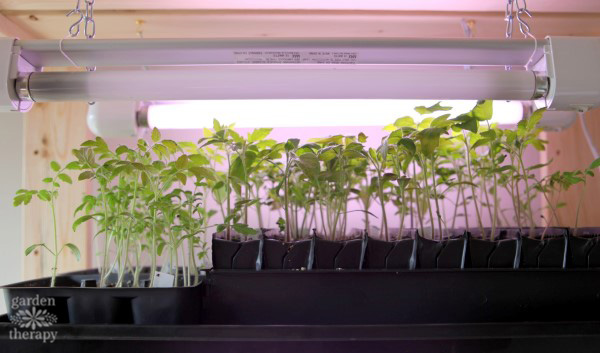
6. Get the Right Lighting
Seeds won’t need light until they emerge from the surface of the soil, but then they will need strong sunlight for most of the day to prevent them from becoming leggy (overly tall and spindly = weak).
You can supplement a lack of sunlight with fluorescent lighting, either by buying a set of grow lights made for seed starting or by making your own with fluorescent shop lights.
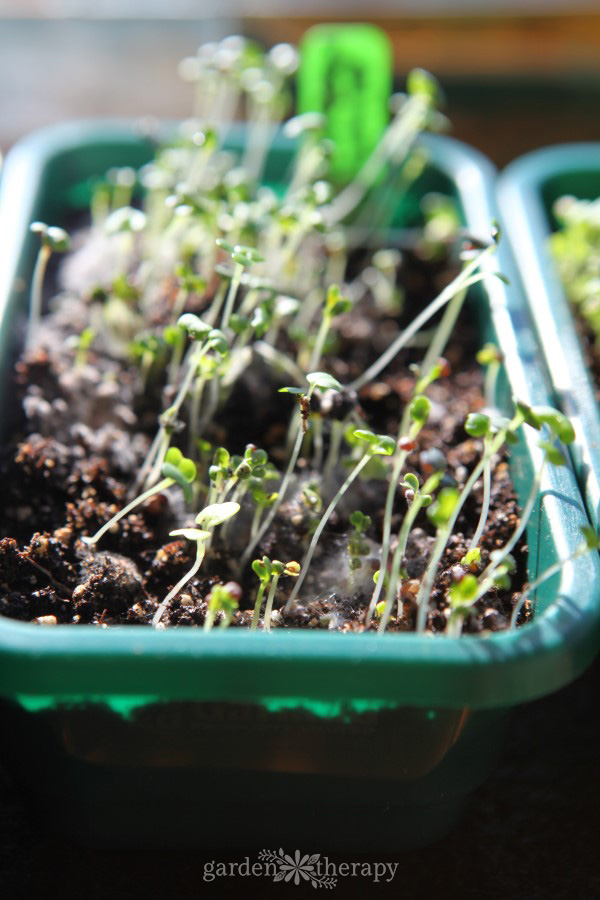
7. Treat Damping Off
“Damping off” is a term for a fungal growth that looks like fuzzy hairs on the seedling stem. This fungal growth will kill the seedling, so it’s bad, really bad.
To prevent damping off, occasionally spray the greenhouse dome with a bottle of 3% food-grade hydrogen peroxide and vent it on a regular basis to regulate humidity.
I also recommend watering with my chamomile fungicide spray. Chamomile naturally prevents diseases such as damping off.
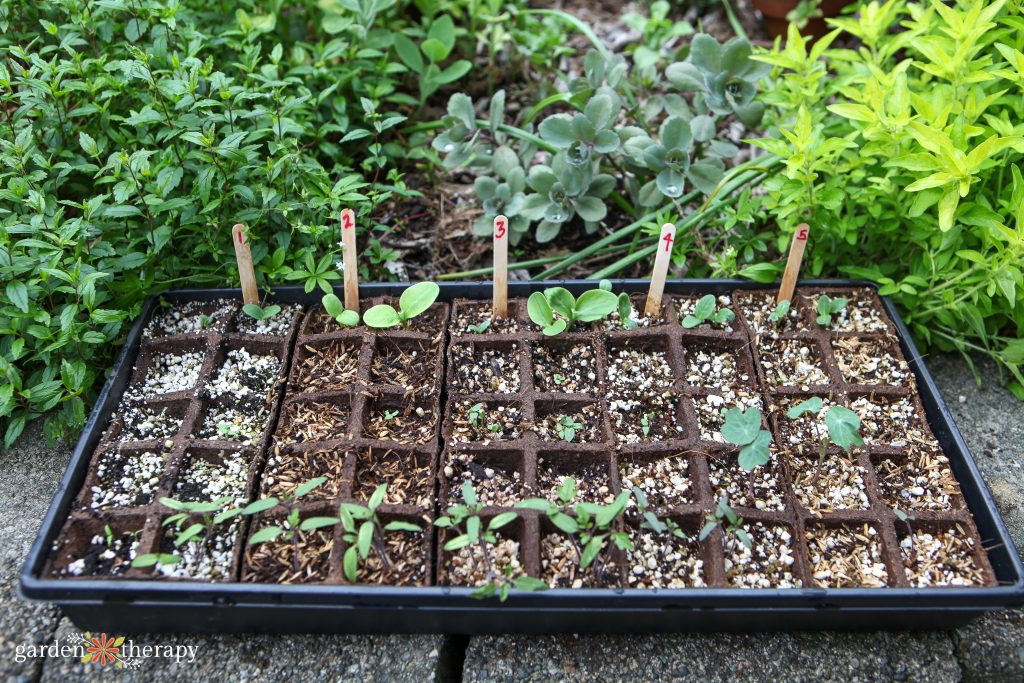
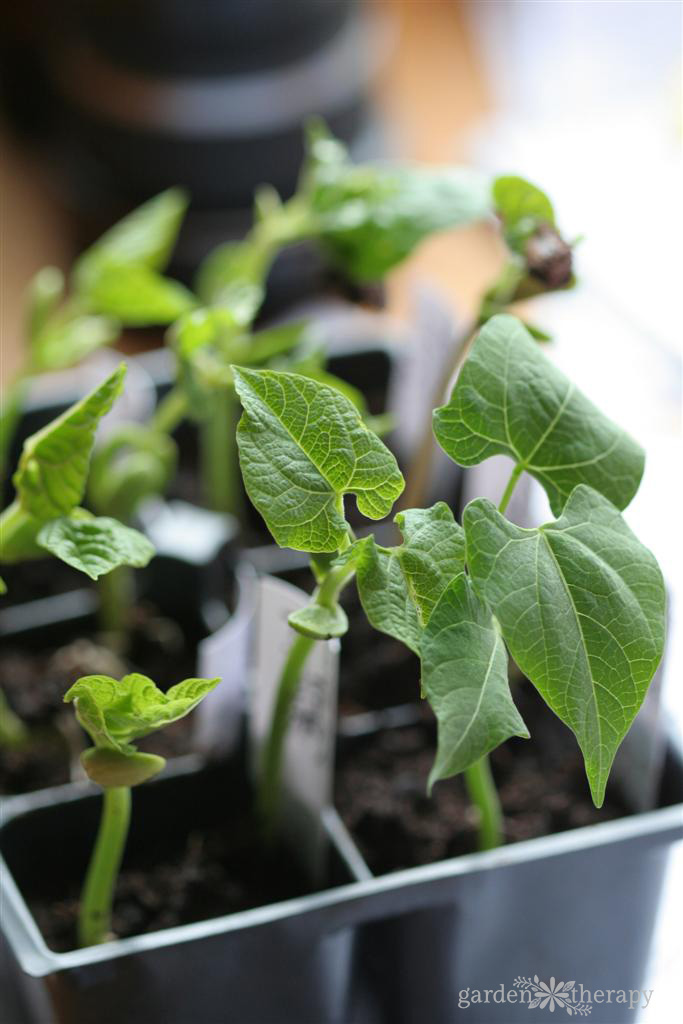
8. Thin Your Seedlings
Generally, the seed instructions will suggest that you plant 2-3 seeds per pot and thin out all but the strongest. This seems to be the thing that some gardeners have the hardest time with.
If three strong tomato seedlings have popped up in one tiny peat pot, then the gardener rushes off to get tweezers to separate out the three wee plants and re-pots them all.
More inexperienced gardeners will damage each plant, giving none a strong chance at survival, so it’s best that you grab a clean pair of scissors, snip all but the strongest seedling in each pot and be done with it.
9. Hardening Off
As the seedlings grow into plants and the date to plant outside gets near, it’s time to start hardening them off or toughening them for their natural environment.
I like to start by opening a window a few hours a day so they get a breeze. Then, start moving the trays outside, out of direct sunlight, for a few hours. Start at one hour and gradually increase to a full day outside.
By the time your plant date has arrived, you can safely transfer your tough little soldiers directly into the ground, with some delicious compost and a thorough watering, to brave the elements on their own.
10. Set Your Expectations
Starting seeds is such an interesting and magical process, especially for children, so it’s the perfect activity to do as a family this coming spring. The months that you’ve spent germinating and raising seedlings will be a series of trial and error, so expect some loss.
Not every seed will germinate, not every seedling will survive being transplanted, and not every kind of plant will do well in your garden.
The gains will be clear when you have piles of leafy greens taking up every inch of your windowsills, bursting to get outside. Starting the plants off yourself ensures that you are in charge of the health of the plant and can control what goes into it. And the satisfaction you’ll feel from starting your own seeds is tremendous.

FAQ About Starting Seeds
Yes. This helps to keep the moisture in and increase temperatures. It essentially acts as a mini greenhouse.
Cover your seeds with a clear plastic container (I like salad boxes) right after you’ve planted and watered your plants. Every day, vent the dome and clean it with food-grade hydrogen peroxide to prevent damping off. Leave the dome on until the seedlings reach it.
Yes. Seeds don’t need sunlight until they’ve germinated (sprouted above the soil). Prior to this, the seed carries all the energy the plant will need to sprout. But once it has germinated, the seedling will need lots of sunlight to grow well. Otherwise, they get leggy and weak trying to reach for more sun.
Consider using a grow light if you can’t get enough sunlight in a windowsill for your seedlings.
More Tips for How to Care for Seedlings
- Grow Light Shelf-Set-Up for Seed Starting Indoors
- Growing Herbs from Seed by Direct Sowing or Container Planting
- Which Vegetables to Sow Directly in the Garden
- And Endless Harvest: The Art of Succession Planting
A city girl who learned to garden and it changed everything. Author, artist, Master Gardener. Better living through plants.


You always have such good information to share! Thank you for sharing .
It will be fun to see how it goes. Thanks for sharing!
Thank you so very much, I sorted my seeds and Bulbs yesterday so I am ready!
Smiles, Cyndi
My seeds say to start in the autumn. They are perennials. Why is this and how do I do this?
Thank you
Hi! Are they direct sow? They should come with instructions on the package – they either want you to start them early enough to get them into the garden next year, of sown directly into the garden in fall.
When I start seeing the my seeds emerging, I wait till they are about 3 inches high and I put a small desk fan facing the tray. My timer is set for one hour on low for the first few weeks and then up it to an hour. If it’s hot and humid I increase the the hour to 4 hours.
I have noticed that there also had been an absence of bugs and fungus since staring this.
great tips!
Thanks for this article. My seedlings grow spindly and bend. You suggested lack of light may be the reason. Is there a way to save the seedlings when this happens. Especially the big sun flowers.
Secondly, in home made growing medium, how much is 10% of perlite to 2 parts of peat and 3parts of compost.
Thanks again