Lavender is a lovely fragrant plant that brings a burst of colour to your garden. It’s also one of my favourite plants to use for crafts and recipes. Here’s how to harvest lavender in a way that helps you enjoy healthier plants for longer, and gives you a whole lot of gorgeous lavender to work with. Plus, I’ll show you 24 creative ways to use lavender once harvested!
Lavender is by far my very favourite scent. I love it fresh when the plants are in bloom, as it dries around the garden, in sachets tucked into my pillow at night, or as bath salts when I soak away the aches of the gardening day.
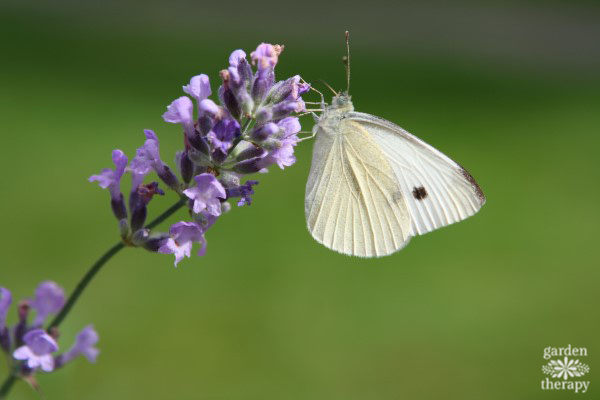
This magical herb is said to promote relaxation, relieve stress, and even soothe an achy head. Oh, and the bees and butterflies love it too. We can’t forget the pollinators.
Too often, I hear landscapers and gardeners talk about how short-lived lavender is as a garden plant. After growing it for almost 15 years in my home garden and visiting/interviewing a number of growers and lavender farms, I have to say that it can look gorgeous in your garden for a whole lot longer, with just a bit of care.
When you harvest lavender, you not only get to use the blooms to create scrumptious DIYs, but you actually help your plant yield more blooms and live longer too.
This post will cover…
- When to Harvest Lavender
- How to Harvest Lavender
- How to Dry Lavender
- Which Kind of Lavender is Best for Harvesting?
- English Vs. French Vs. Spanish Lavender
- The Best Varieties for Harvested Lavender
- How to Use Dried Lavender
- Lavender Recipes
- Lavender Crafts
- Lavender Skin Care
When to Harvest Lavender
Like most things, knowing how to get the best lavender harvest is all about timing. The exact time will depend on your gardening zone and climate, but I’ve got a quick trick that will make knowing when to harvest easy.
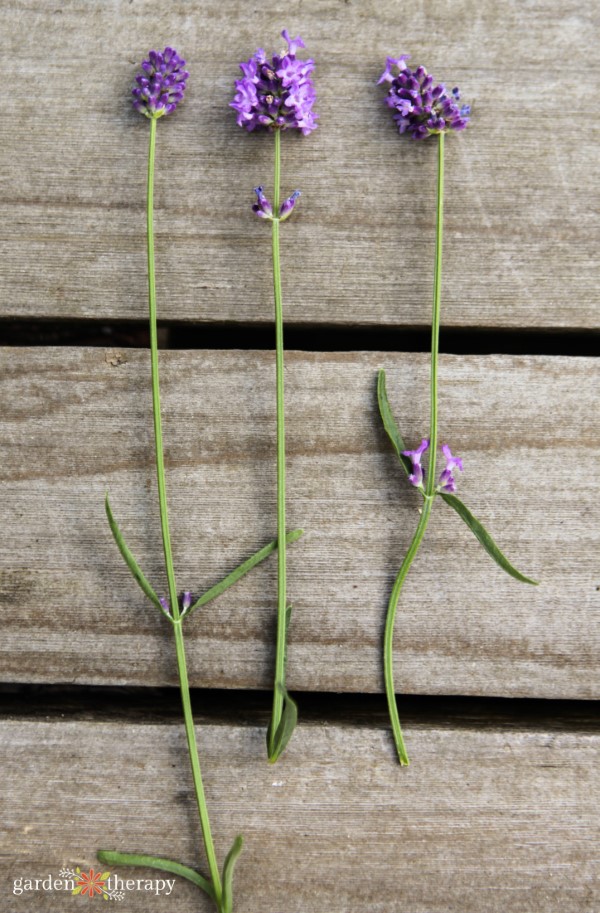
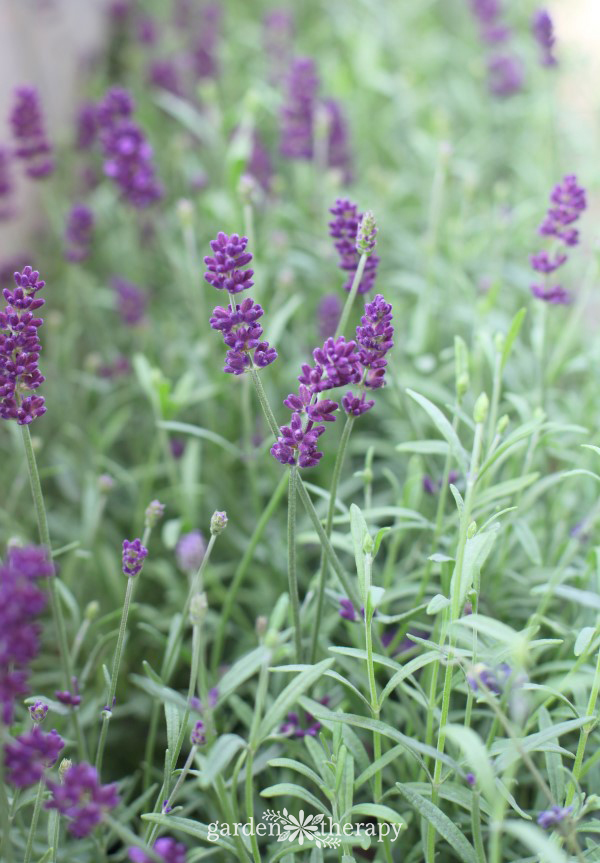
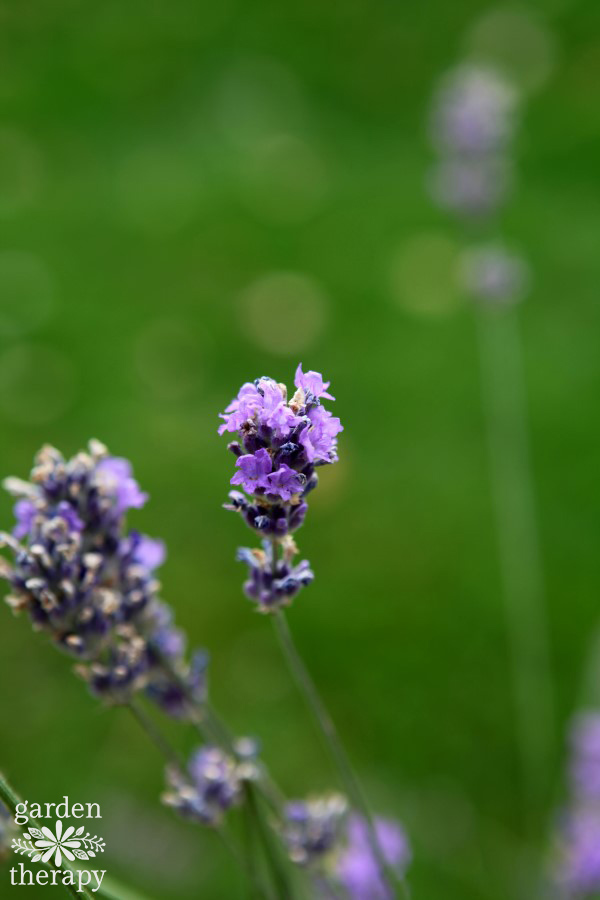
The best time to harvest English lavender is when the flower buds have formed on the plant but the flowers themselves have not yet opened. Lavender flowers harvested at this time of year will fall off the stems more easily when dry, making it easier to collect.
Closed buds will also retain fragrance and colour longer.
Need a visual? The image below shows the stages of bloom. The one on the left has fully formed, closed buds. The middle image has a mix of open and closed buds. The image on the right has fully open flowers, some of which are finished blooming. Choose buds that look like the left image.
How to Harvest Lavender
To harvest lavender, use sharp bypass pruners and gather a small handful of long flower stems. Be sure that you are leaving behind at least two sets of leaves on the green part of the stem. If you cut all the way back to the woody part of the stem, that stem will not regrow.
I like to be generous and leave at least 3-4 sets of leaves on the plant, then go back and prune it to two sets of leaves on the green stem. This ensures that I’m not damaging the plant that gives me all these beautiful flowers!
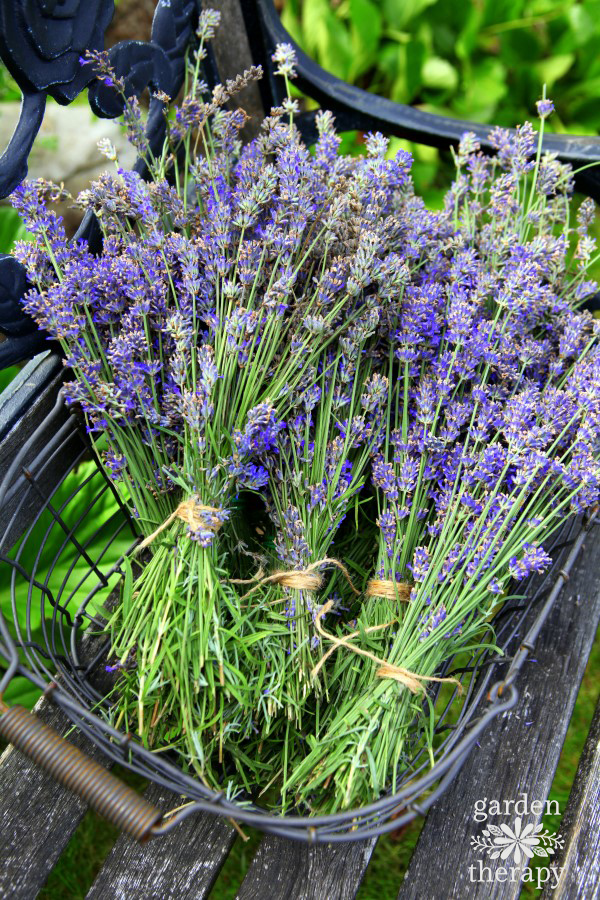
Continue collecting stems in your hand until you have a nice-sized bundle. Secure the bundle with twine or a rubber band and continue until the plant is fully harvested.
Pruning the plants like this will keep the shrub tidy and evergreen in some colder climates. If your plants are leggy and you see lots of dead wood, it’s a good idea to summer prune them each year until they regain a tidier shape.
You can safely prune lavender plants twice in the growing season to help define and maintain their shape.
How to Dry Lavender
Once you have harvested lavender, you’ll need to dry it out before storing it. Thankfully, this is very easy to do.
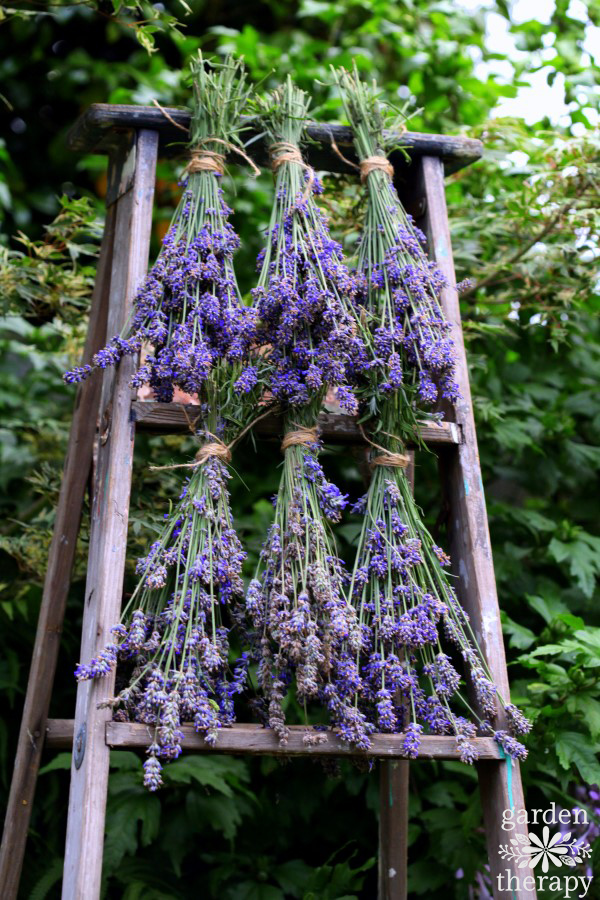
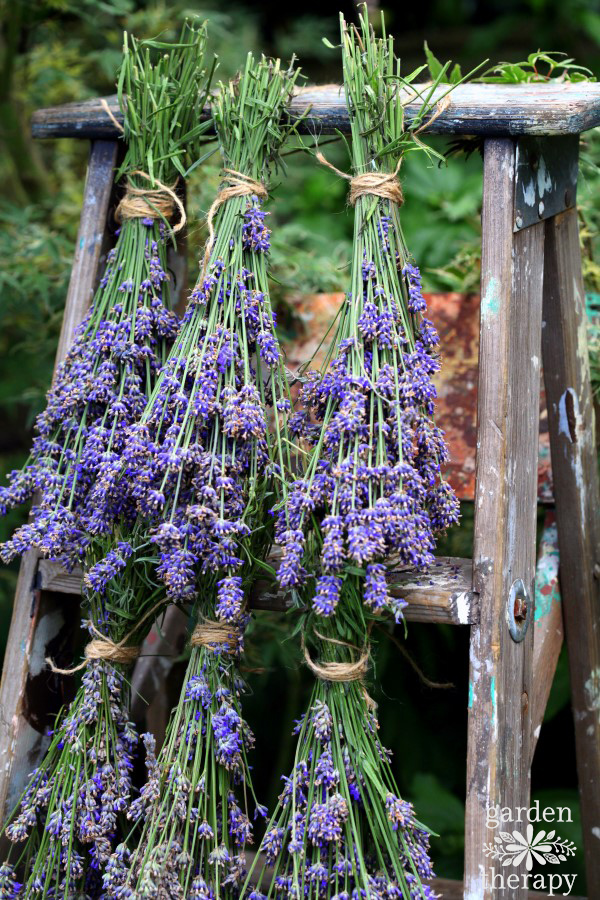
Dry lavender bunches by hanging them upside down in a warm, dry spot, out of direct sunlight. Under eaves, in the garage, or somewhere in the garden that is protected is ideal. You want to avoid moisture as much as possible.
My herb dryer is an old painting ladder outfitted with some hooks for the twine. But I have also dried lavender along a shady fence and made it into a dried lavender wreath. Adding some drying lavender around your home will make it smell heavenly. I highly recommend it.
After 2-4 weeks, check to see if the lavender is fully dried. You’ll be able to tell because the dried blooms will easily fall off the stem with very little resistance.
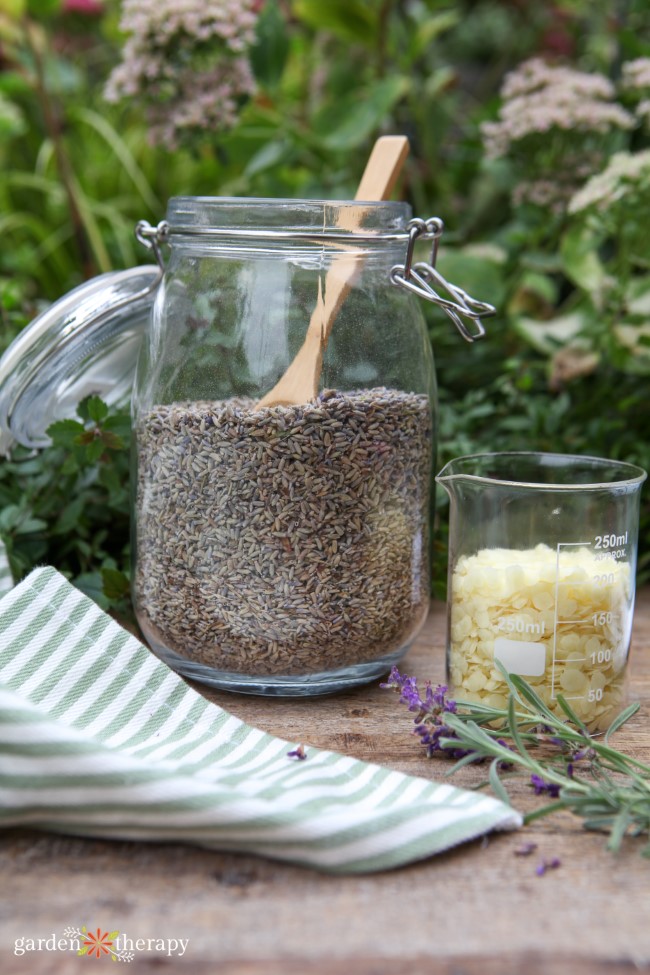
Once the lavender has fully dried, you can shake or gently rub the lavender buds into a tray or bowl. To store it, place the dried buds in a lidded glass jar in a cool, dark place and repeat next year.
Which Kind of Lavender is Best for Harvesting?
Harvesting lavender is a great way to tidy up unruly plants and will give you a whole bunch of inspiration for projects throughout the year. There is a proper way and ideal time to cut lavender flowers that is best for both the dried flowers and the plants.
That being said, the best way to get a good harvest starts with planting the right kind of lavender.
English Vs. French Vs. Spanish Lavender
Lavender is commonly grouped into English lavender, French lavender, or Spanish Lavender, but the common names can become quite confusing as they can refer to a number of different lavender varieties.
The best way to differentiate them comes from separating Lavandula angustifolia and L. x intermedia, plants that have delicate flowers and long stems that soar above the woody evergreen plant, from Lavandula stoechas with its showy hat of butterfly-like bracts on a perennial shrub.
English Lavender is the common name for L. angustifolia, and a hybrid of L. angustifolia is L. x intermedia, which I have seen called both English and French lavender.
In any case, this guide is for harvesting L. angustifolia and L. x intermedia, which are the varieties most often cultivated for culinary, craft, and medicinal properties. That being said, these harvesting techniques can work for any kind of lavender.
Read more about growing and propagating lavender in this article: The Essential Guide to Growing Lavender.
The Best Varieties for Harvested Lavender
The cultivar of your lavender will also determine fragrance, colour, and longevity of the dried stems as well. ‘Hidcote’ and ‘Munstead’ English lavender varieties are noted by many to be the best for drying (L. angustifolia ‘Hidcote’ and L. angustifolia ‘Munstead’).
When looking for dried lavender options, I really love ‘Thumbelina’ for producing a bounty of small, deep purple flowers that hold colour really well. I should also add that after visiting a ton of growers and farms, they all seem to have developed cultivars that work best for them.
If you can, I highly recommend visiting a lavender farm, asking some questions, and buying your garden plants from them. They will certainly have some gems that will perform best in your garden.
How to Use Dried Lavender
In case you are wondering what to do with your bounty of fresh herbs, check out these DIY projects and recipes featuring this star of the garden. There is so much you can do with this lovely flower, from potpourri to culinary uses to creating salves and tinctures. There is truly something for everyone on this list.
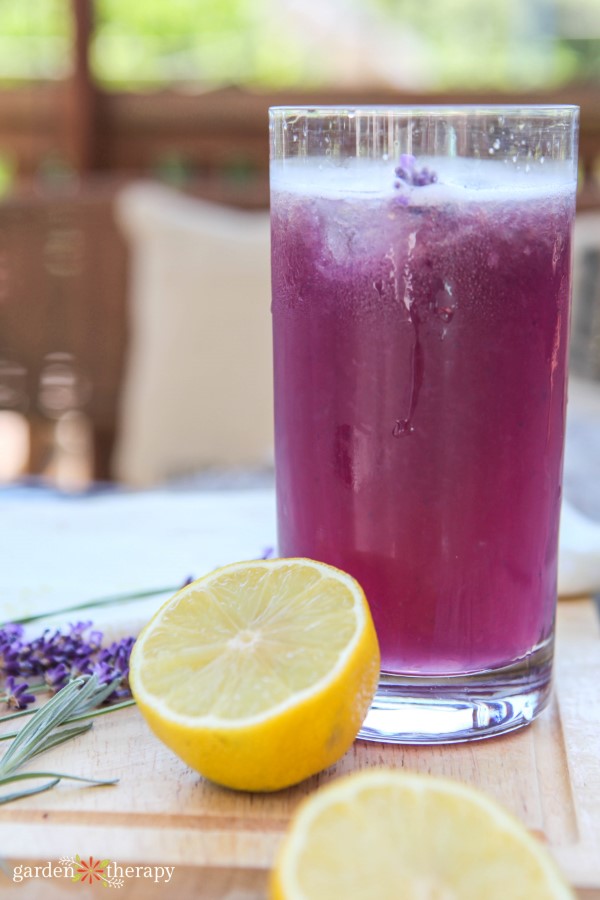
Lavender Recipes
Lavender Crafts
- Dried Lavender Wreath
- Serenity Now! DIY Lavender Eye Pillows
- Lavender Dryer Bags
- Lavender Linen Water Recipe and Printable Label
- If This Doesn’t Help You Sleep I Don’t Know What Will!
- Herbal Dream Pillows: Aromatherapy for the Restful Sleep You Need
- DIY Plantable Seed Paper = Valentine’s Day Cards
- Dryer Bags with Lavender
- DIY All-Purpose Cleaner With Lavender and Alcohol
Lavender Skin Care
- Lavender + Marshmallow Root Homemade Conditioner for Dry Hair
- All-Natural Rose and Lavender Spray Deodorant Recipe
- Lavender and Oatmeal Tub Teas
- Tub Tea Time!
- Healing Cuticle Balm Recipe
- Gardener’s Herbal Foot Soak Recipe
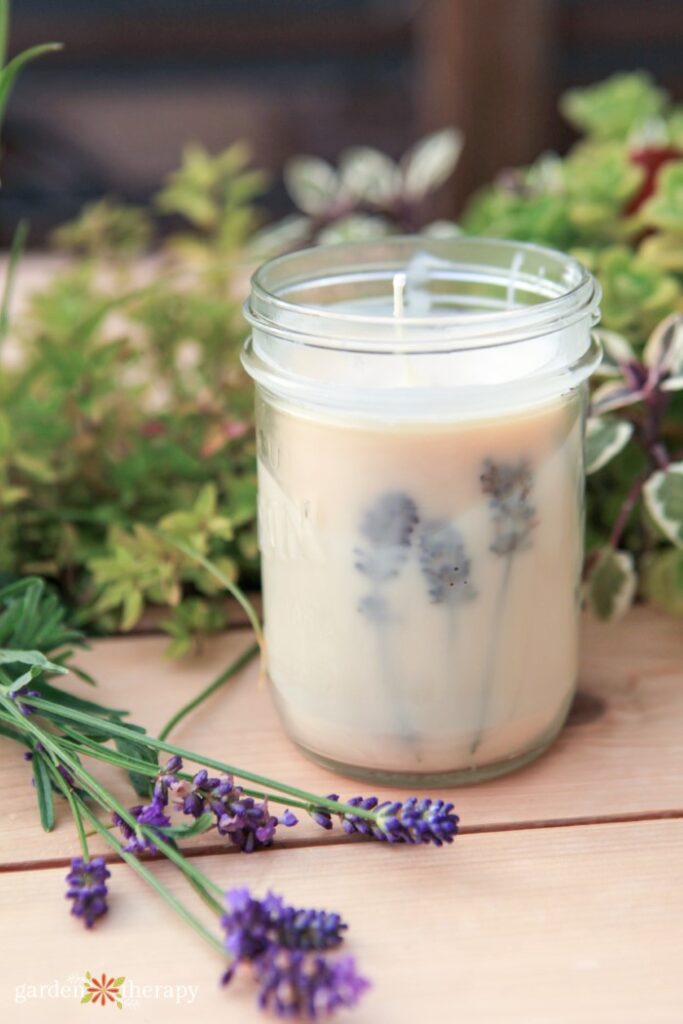
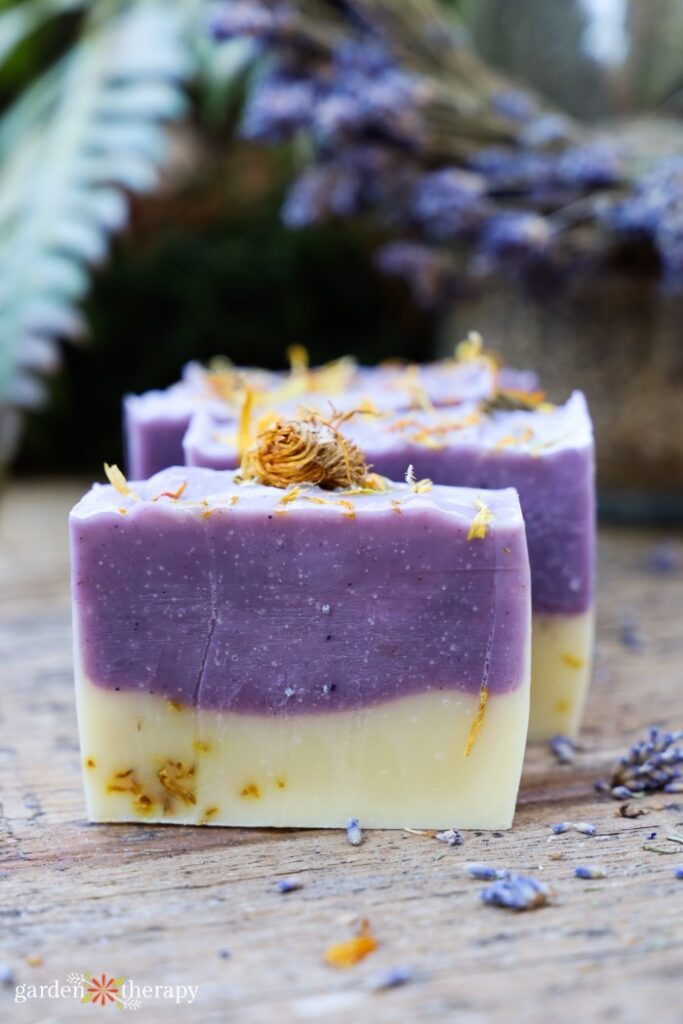
- Cold-Process All-Natural Handmade Soap
- Lovely Lavender Ombre Melt and Pour Soap
- Gorgeous Lavender Oatmeal Soap Cupcakes (that Anyone can Make)
- Lavender and Cocoa Butter Bath Melts
- Infused Herbal Oils
- Herbal Roll-on Remedies for Headache, Sleep, and Cold & Flu
- Insect Bite Roll-On Remedy
- Heavenly on the Hands Lavender Liquid Soap
- Lemongrass and Lavender Deodorizing Soap for Tackling Strong Odours
More Tips for Growing Lavender
- How to Propagate Lavender for Endless Blooms
- The Essential Guide to Growing Lavender
- How to Dry Flowers + 14 Dried Flower Petal Projects
- Make Your Own Dazzling Dried Flower Arrangements
A city girl who learned to garden and it changed everything. Author, artist, Master Gardener. Better living through plants.


I put one plant in about 8 years ago and it’s a big beautiful purple puff ball that takes up a 4 ft by 6 ft area now.
hooray!
This was an excellent article. My question is since I live in zone 3 (northern Alberta Canada) with winter temps dropping to -30C I have had no luck with perennial lavendar plants. I just bought 2 gorgeous specimens that are stoecha variety and was considering planting them in containers. Do you know the best way to winter these over indoors? Would I be best to I treat them as houseplants or place in a dark cool room in the fall?
Also interested as I live in Alberta as well. I hope to see suggestions
Treat them as house plants.
Hi, I was wondering how to dry lavender in bunches so it doesn’t lose it’s colour and doesn’t shed the flowers.
Thanks
I just read this recently, the lavender plants should be dry, so cut it in early evening, so no dew is on it. Loose bunches, wrap the stems with a rubber band, which will tighten up as the stems shrink. Hang upside down in a darkish area away from moisture (so not in kitchen or bathroom). They dry in a couple weeks, but make sure they are bone dry, or they could mildew. Once you strip off the blossoms you could mix a few drops lavender essential oil in every so often, to keep them smelling good. That’s probably cheating, but the little flowers look so pretty I want the scent to last! ????????????
As for the color, I think it depends on the kind of lavender you are growing. Morningsun Herb Farm (Vacaville, California) gives the rundown per type in their online descriptions. Sorry I don’t recall the specific type, but you could check with them and go from there. They do have mail order, but the shipping can be high (b/c the plants arrive ALIVE!) Maybe you could use all the info on their site to shop closer to where you live. Good Luck, have fun!!!
The best thing you can do with lavender flowers after drying is to crush them and rub them into baby’s hair.
That sounds a bit random
LoL, seriously? The “best” thing???
Also, first thing I thought of was the choking hazard.
Methinks that person doesn’t even have a baby.
Thank goodness.
I have a 3 yr plant that produces beautiful lavender which I use in sachets etc. I will be moving soon, and am wondering if I can dig up and transplant it in my new garden? or will that damage the plant?
I’ve never moved a lavender, but worth a try! First, water well, then the next day apply some Vitamin B-1 transplant liquid (available at a nursery or home depot maybe), according to directions on the bottle. The *next* day, trim the plant back by about one third (local lavender growers cut more than that, to stimulate new growth after harvesting the flowers). Cutting it back may sacrifice one flush of flowers, but the plant is more likely to survive if it has less foilage to sustain in the extreme situation of being moved.
Back to the digging up part: After trimming back to about half its original size, use a shovel to dig the rootball a little bigger that the amount of plant you have. Cut the ground about 4″ larger diameter than the trimmed back lavender. Go straight down with the shovel all around the perimeter, then sort of angle/pry the bottom out. You’ll be breaking roots, but don’t panic. The plant basically only needs a root ball about the size of the plant itself. Some people wrap the rootball in burlap, but you could just put it in a big black plastic nursery pot. Once you get it to the new house, it could stay in there while it recovers (in a shady-ish spot), and you can take your time deciding where to plant it. It will grow new roots and put on some top growth and better withstand the entire process. Make sure to mist the potted plant if it’s hot or windy, and water it often enough to keep it perky. When you finally plant it out, mix a bunch of organic compost with the local soil, and plant it so it sits real high. This will give it some room to settle when you water it in, plus if it remains high, it will ensure good drainage because established lavenders like everything on the dry side, and do not tolerate “wet feet”.
Good luck!
Another way to “take it with you” is to root some cuttings from the plant, so at least you have the heritage of your Mother plant. (Root-Tone, works like a champ!) You could do both, so that if your transplanting adventure didn’t work out, at least you have some baby ones.
Shopping List:
B-1 transplant vitamin
Big black nursery pot
Root-Tone
Red SOLO Cups for the cuttings
(all available at Home Depot, except the cups– doesnt really have to be solo cups, any kind will do)
Have had great luck with lavender cuttings. Trim off lower leaves. Pop the cut-end in my mouth (saliva) then dip in cinnamon. Slip gently into potting mix where I’ve poked a pencil hole. Firm in. I love my baby plants.